15 Best Calisthenics Progressions For A Full-Body Transformation
Calisthenics progressions are the building blocks of your fitness progress. There are 15 progressions you will ever need to develop all main muscle groups in your body.
Here are the 15 calisthenics progressions that will help you achieve a full-body transformation. Whether you’re a beginner or an advanced athlete, these calisthenics progressions will challenge you and help you reach your fitness goals.
What Are Calisthenics Progressions?
The main question is what are the calisthenics progressions and why should you even care? Well, they are the building blocks of progressive muscle overload needed for strength and muscle growth.
Once you master the easiest skill in a progression and your reps are going over 15, it’s time to move on.
If you continue increasing reps, you will be training for endurance. This is not what you want if you are after building strength and muscle mass. So, you have to progress to the harder skills in a progression.
This will keep your reps in a strength/hypertrophy range and challenge your muscles more. The added benefit is the gamified workout approach.
When you master easier skills you will get to harder more impressive skills in a progression. Those skills look cool and will keep you motivated to work on achieving them.
Chest & Triceps Calisthenics Progressions
To begin exploring the world of calisthenics progressions, let’s start with progressions targeting your chest and triceps muscles. All progressions will be listed from easier to harder, so you know in which order you should work on them.
The easiest one will be the plank progression, followed by the push-up progression. The hardest will be one arm push-up progression.
Start with an exercise you can do 5-8 reps for 3 sets. Tackle one skill at a time. Move on to the next exercise when you master the one you are currently working on. The same will work for all muscle groups.
1. Plank Progression
Plank progression is the easiest one targeting your chest and triceps muscles. Plank will also work your lower back and abs which stabilize your core while holding the plank position.
It’s great for complete beginners and people recovering from injury.
To do the plank, stand on your toes and your palms. Keep your body in a straight line. Hold this position for as long as you can.
Two plank versions will instantly pop into your mind:
- Knee Plank: Knee plank is an easier version than a regular plank.
- Regular Plank: This is the hardest exercise in a plank progression.
If you can do 3 sets with 30s plank hold in each set, you are ready to move on to the push-up progression.
2. Push-Up Progression
If you are not a complete beginner or recovering from injury, push-up progression will be your starting point. The standard push-up is the main skill of this progression.
Push-ups are an all-time classic calisthenics skill. It will work your chest and triceps muscles. To do a proper push-up, start in a plank position with your hands slightly wider than shoulder-width apart. Lower your body until your chest touches the ground. Push back up until you are at the starting position again.
Variations of push-ups can target different muscle groups. To work your triceps more, try diamond push-ups by placing your hands close together in a diamond shape. If you want to work on your chest, use wide push-ups.
Here are some push-up variations that you can add to your workout routine:
- Wide Push-Ups: Place your hands wider than shoulder-width apart to target your chest muscles.
- Diamond Push-Ups: Place your hands close together to form a diamond shape. This variation targets your triceps.
- Regular Push-Ups: This variant is the middle ground. It stands right between wide and diamond push-ups.
When you can do diamond push-ups for 8 reps in 3 sets you are ready to move on to one-arm push-up progression.
3. One-Arm Push-Up Progression
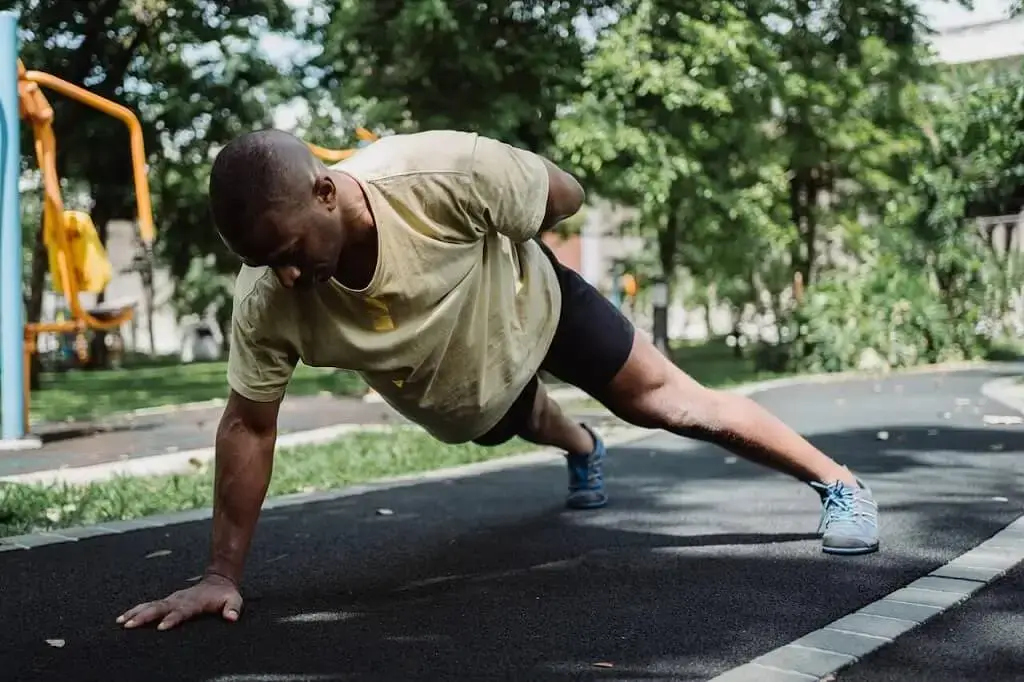
One arm push-up progression will help you build your pushing strength beyond regular push-ups.
Dynamic push-ups will be more difficult than standard push-ups. You do them by exploding off the ground at the top of each rep. You can also try the one-arm push-up version for an added challenge.
Here are some of the variations from one arm push-up progression:
- Dynamic Push-Ups: One of the fun push-up versions is dynamic push-ups. The most fun will be exploring the clapping push-up variants
- One-Arm Push-Ups: If you are up for a challenge, you may want to try doing push-ups on one arm. This will challenge both your strength and your balance.
Back & Biceps Calisthenics Progressions
The next muscle group pair is the back and biceps. There are two progressions targeting your back and biceps:
- Pull-Up Progression
- Muscle-Up Progression
The easier one is the pull-up progression. Once your master pull-ups, you are ready to start working on muscle-ups.
4. Pull-Up Progression
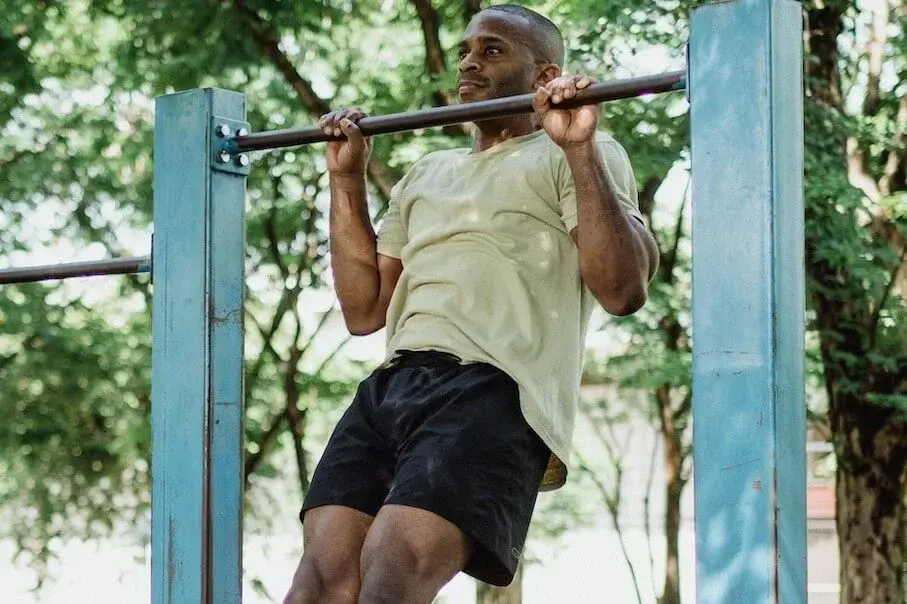
Pull-up progression is one of the calisthenics classics. One can’t think about calisthenics without instantly getting the picture of a pull-up in his head. Pull-ups are the core skill this whole progression relies on.
Pull-ups are one of the best moves for building upper-body strength. To perform a proper pull-up, grab a bar with an overhand grip. Hang from a bar with your arms straight. Pull your chest to the bar, then lower yourself back down with control.
Variations of pull-ups can target different muscle groups. To work your biceps, try chin-ups by grabbing the bar with an underhand grip.
Here are some pull-up variations you can try:
- Chin-Ups: Do a regular pull-up, with your palms facing towards you. This variation targets your biceps.
- Pull-Ups: To work your lats do regular pull-ups. Lift your body up in the air while holding onto a pull-up bar. Your palms should be facing away from you.
When you can do 5 reps of pull-ups in 3 sets, you are ready to move on to the muscle-up progression.
5. Muscle Up Progression
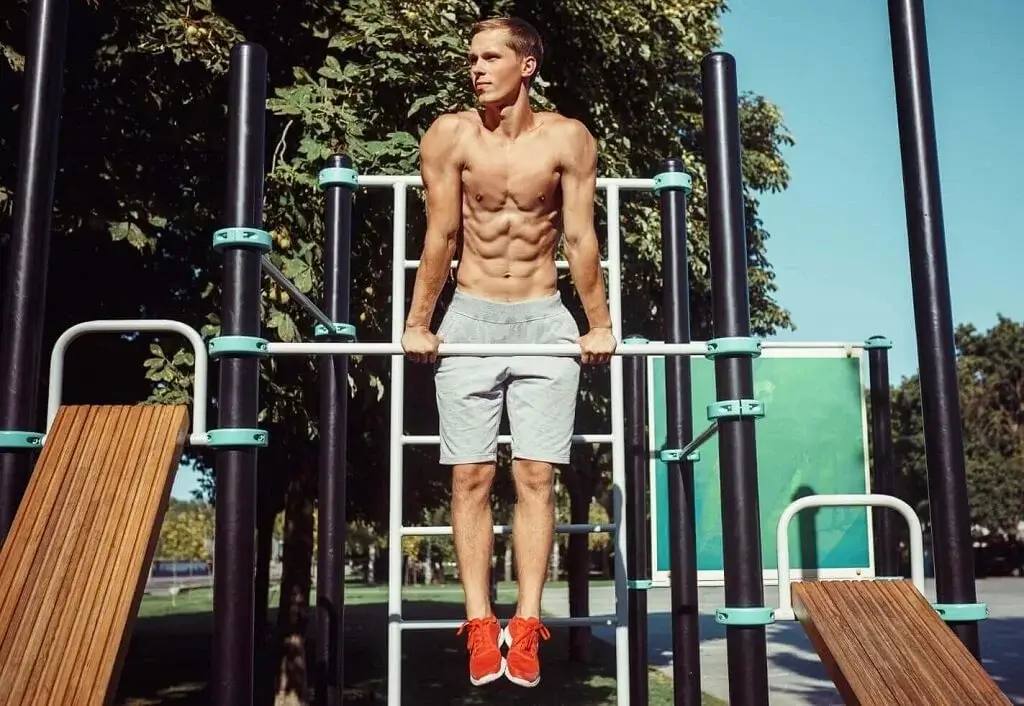
Skills found in a muscle-up progression are designed to target your upper back, biceps, and shoulders. But muscle-up will also work your chest and triceps. It’s because of a straight bar dip that is the last part of a muscle-up move.
Here are some variations you can try:
- High Pull-Ups: Do a pull-up, only this time pull yourself so high up above the bar that you touch the bar with your belly button.
- Straight Bar Dips: Lower your body down and raise back up by holding onto the pull-up bar. Straight bar dips will work your chest and triceps. When you combine the high pull-up with a straight bar dip, you got yourself a muscle up.
- Muscle-Ups: Do a pull-up, but continue the move until your chest is well above the bar. Then, push your body up and over the bar to perform a dip. This variation targets your entire upper body.
Avoid swinging your body to maintain proper form. Check the complete muscle-up progression for all exercise options.
Leg Calisthenics Progressions
To work your leg muscles like quads, hamstrings, glutes, and calves you need progressions that will target those muscles:
- Squat Progression
- Pistol Squat Progression
You can start with a squat progression. Once you master squats, you can start exploring the world of one-leg exercises, like pistol squats.
6. Squat Progression
Squat progression will help you work your way up to squats and beyond. So, squats are the best representative of this progression.
Squats are one of the core calisthenics skills that target your leg muscles. Specifically the quads, hamstrings, and glutes. To perform a proper squat, stand with your feet a bit wider than hip-width apart. Lower your body by bending your knees. Keep your chest up and your weight on the center of your feet. Push back up and straighten your legs until you reach the starting position.
The easiest moves in a squat progression will work your lower back muscles together with your quads and glutes. As you move through progression the focus will shift more to the leg muscles and less on your lower back.
Here are some squat variations that you can try:
- Squats: Stand with your feet a bit wider than hip-width apart. Lower your body down into a squat until your thighs are parallel to the ground.
- Squat Jumps: Do a regular squat, but jump explosively as you stand up. This will add another level of difficulty compared to regular squats.
If you are recovering from injury or are new to resistance training, start with the easiest move in a squat progression. Work yourself through the progression one exercise at a time.
When you can do 3 sets of squat jumps doing 8 reps in each set, you are ready to move on to the pistol squat progression.
7. Pistol Squat Progression
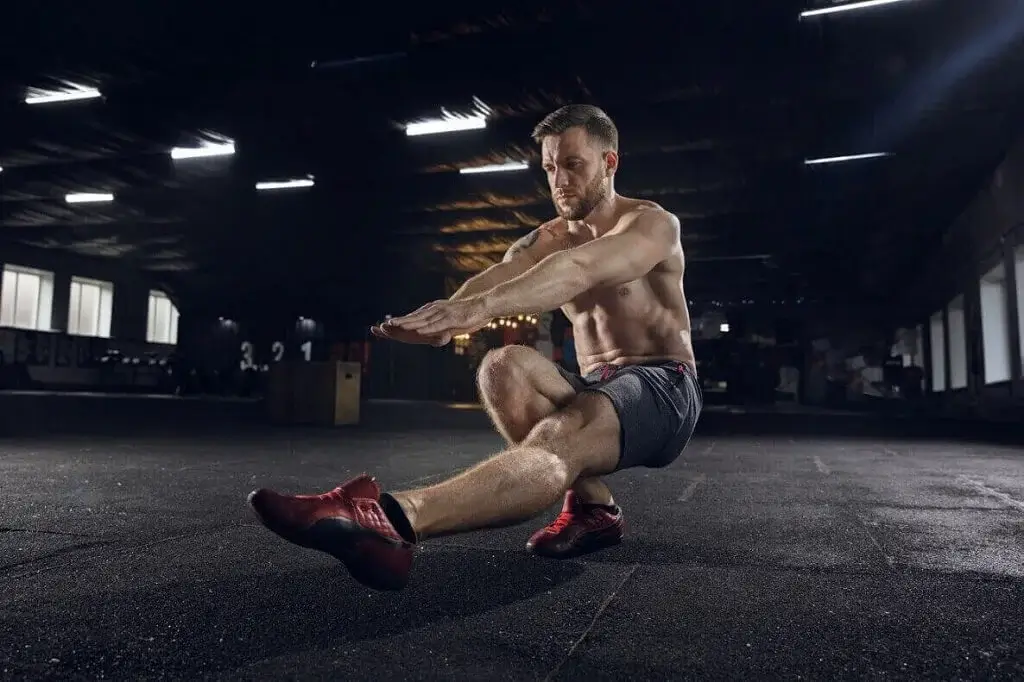
Pistol squat progression is designed as a leg progression and mostly revolves around squatting moves. Specifically the one-leg version of squatting.
Here are some single-leg squat variations you may want to try:
- Levitation Squats: Levitation squats are one of my favorite squatting exercises. It’s very hard, but it’s easier on your knees compared to pistol squats. It’s my go-to version when it comes to building leg strength.
- Pistol Squats: For the real challenge, you can try pistol squats. Stand on one leg and lower your body down until your non-working leg is parallel to the ground.
Abs & Hip Flexors Calisthenics Progressions
It’s time to explore progressions that will work the front core muscles. Those are progressions targeting your abs and hip flexor muscles.
There are three core progressions targeting your abs:
- Leg raise progression
- Toes to bar progression
- Front lever progression
But, you can also add a cool and challenging dragon flag progression in the mix to make things more interesting.
8. Leg Raise Progression
Leg raise progression or laying leg raise progression is dealing with skills done on the floor. Those basic exercises are important for building basic abs and hip flexors strength. That strength will be useful later when you move onto a pull-up bar.
Here are some skills worth mentioning:
- Lying Leg Raise: Lay on your back and lift your legs straight up.
- Hollow Hold: Lay on your back and lift your legs and arms off the ground at the same time. Hold this position as long as you can.
This progression starts with a tuck hollow hold and ends with a hollow hold. When you can do 3 sets with 30s hollow holds in each set, you are ready to move onto a toes-to-bar progression.
9. Toes-To-Bar Progression
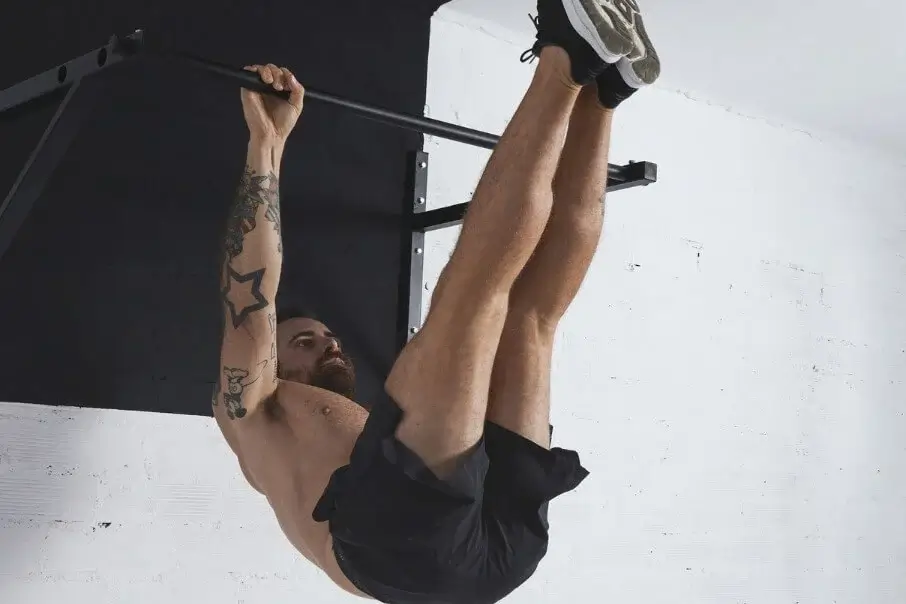
Toes-to-bar progression will help you increase the load on your abs and hip flexors. Toes-to-bar is a pretty hard exercise. You will need a lot of core strength to pull it off.
Because your butt must be elevated, you will also have to engage your delts. For me, this is the hardest part of this move.
Here are some of the moves that are important:
- Hanging Knee Raises: Hang from a bar and lift your knees up to your chest.
- Hanging Leg Raises: Hang from a bar and lift straight legs up.
When you can do 3 sets of 5 reps hanging windshield wipers, you are ready to tackle the front lever progression.
10. Front Lever Progression
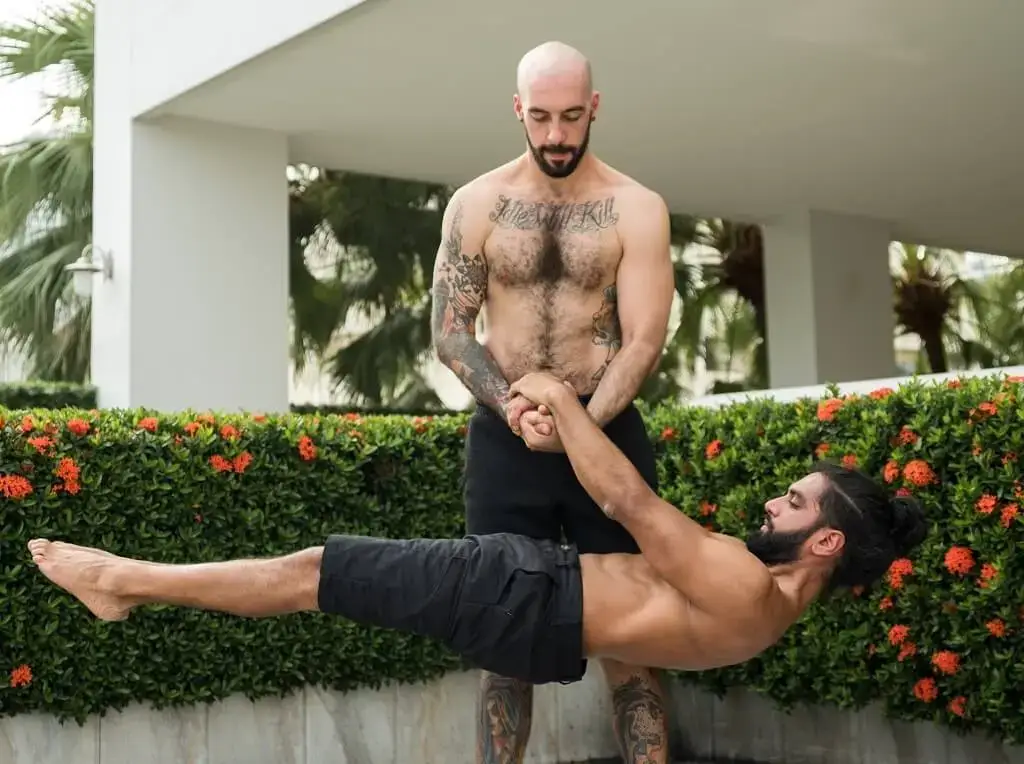
The front lever is an advanced calisthenics skill that works the entire upper body. Especially the lats, abs, and arms. To perform a proper front lever, start by hanging from a bar with an overhand grip. Extend your legs straight out in front of you and lift your body until it’s parallel to the ground. Hold for as long as possible.
Here are a few exercise examples:
- Tuck Front Lever: Hang from a bar with your knees tucked to your chest. Hold this position steady.
- Straddle Front Lever: Start in tuck front lever and extend your legs so they form a letter V.
- Front Lever: Start in a tuck front lever. Extend your legs straight in front of you. Your entire body should be in a straight line parallel to the ground.
You can explore even more options in a complete front-lever progression.
11. Dragon Flag Progression
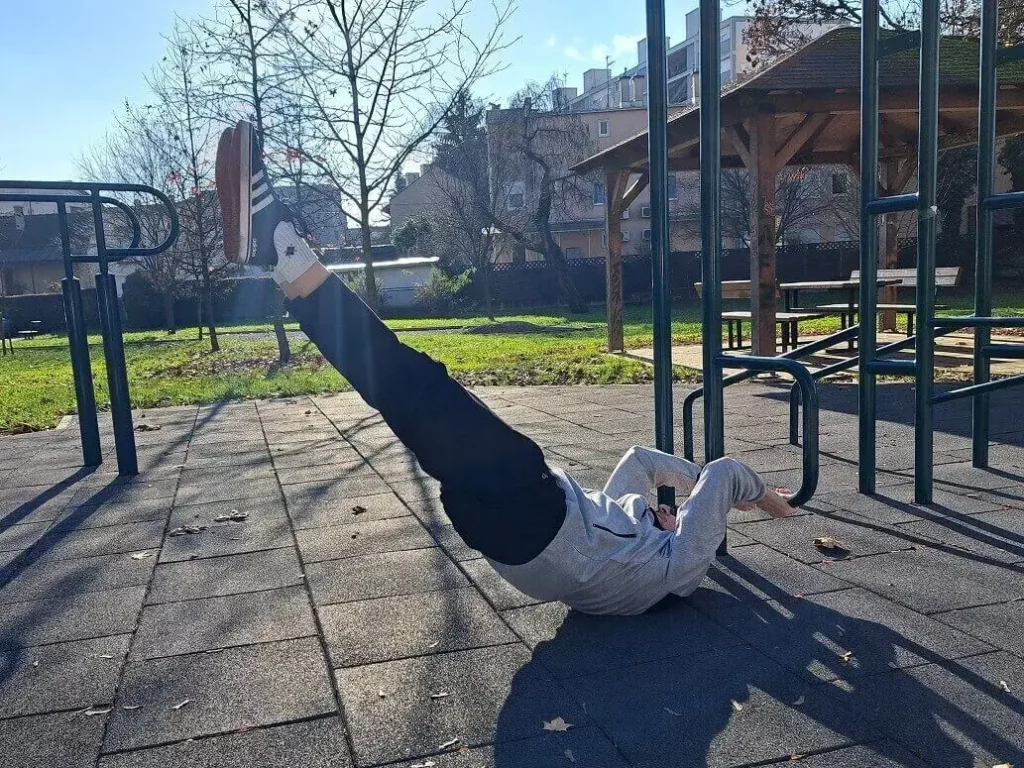
You can think of a dragon flag progression as a kind of bonus progression for your abs. For its difficulty, it sits somewhere in the middle of a toes-to-bar progression. When you master hanging leg raises, you can safely start exploring dragon flag progression exercises.
Lower Back Calisthenics Progressions
One of the most neglected muscles is the lower back muscles. So, it’s important to include skills targeting your lower back in your workouts.
There are two progressions targeting your lower back muscles:
- Bridge Progression
- Back Lever Progression
12. Bridge Progression
You will need to improve both your lower back strength and flexibility to do a bridge. Bridge progression will help you master this cool skill one step at a time.
Here are some of variations worth trying:
- Superman Lifts: Lay on your belly and lift your arms and legs off the ground at the same time.
- Reverse Plank: You position yourself with your hands and heels on the ground. You will be facing up.
When you can hold a bridge for 30s in 3 sets, you are ready to move on to the next progression.
13. Back Lever Progression
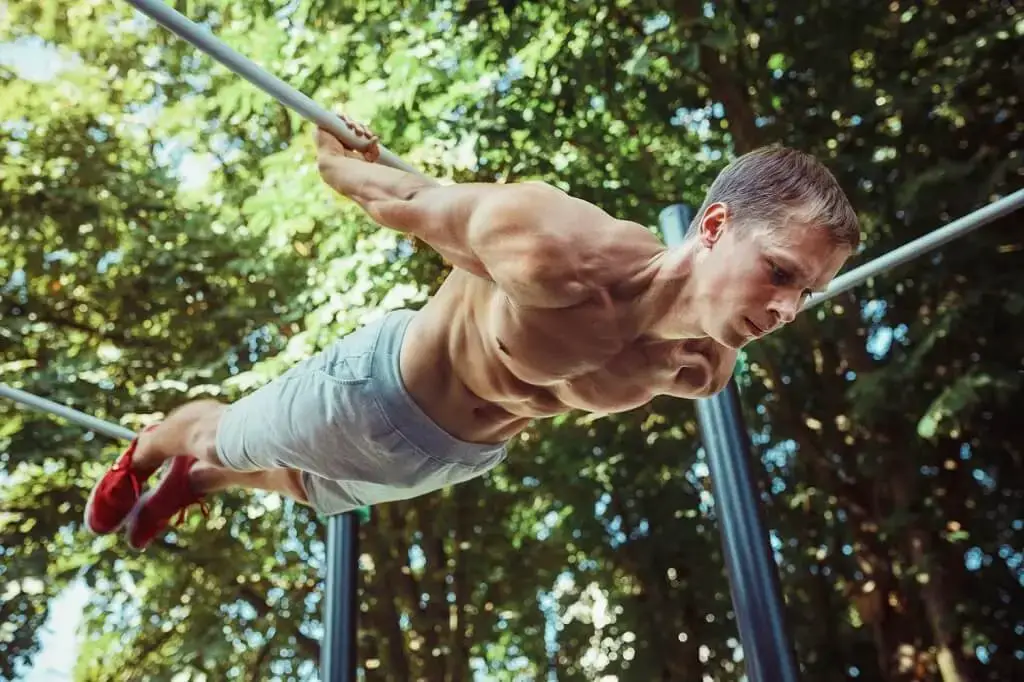
The back lever is another advanced calisthenics skill that works the entire upper body, especially your lower back. To perform a proper back lever, start by hanging from a bar with an underhand grip.
Rotate your body under the bar and extend your legs. Keep your arms straight and your body tight. Hold for as long as you can.
Variations of the back lever can target different muscle groups. Back lever progression starts with easier exercises that will help you build the basic strength of your lower back. A strong lower back will be crucial to develop if you want to master this cool skill.
Here are a few options you can try when you build enough strength and shoulder mobility:
- Tuck Back Lever: Tuck back lever is an easier version than a back lever with legs extended. It’s performed like the standard back lever with your knees tucked to your chest.
- Straddle Back Lever: Start in a tuck back lever and extend your legs into a straddle position (your legs forming a letter V shape).
- Back Lever: Start in a tuck back lever. Extend your legs until they are completely straight. Your body should be in a straight line parallel to the ground.
Shoulder Calisthenics Progressions
Last but not least, we must not forget about our shoulders. There are two progressions targeting your deltoids or shoulder muscles:
- Pike Push-Up Progression
- Handstand Push-Up Progression
Let’s start with easier pike push-up progression and work our way up to handstand push-ups.
14. Pike Push-Up Progression
Pike push-up progression starts with the easiest exercises that will work your shoulders. The easiest is exercise otherwise known as a yoga downward dog pose. It will progress to harder ones at the end.
Here are some of the skills you will explore in this progression:
- Pike push-up: Start in a downward dog position. Lower yourself down slowly by bending your elbows and lowering your head down to the ground. When you touch the ground with your head push away from the ground until you are back in a starting position.
- Elevated pike push-up: Do the same move as in the pike push-up only with your feet on an elevated surface.
The hardest skill in this progression is elevated pike push-ups. When you master this exercise, you can safely start exploring the world of handstand push-ups.
15. Handstand Push-Up Progression
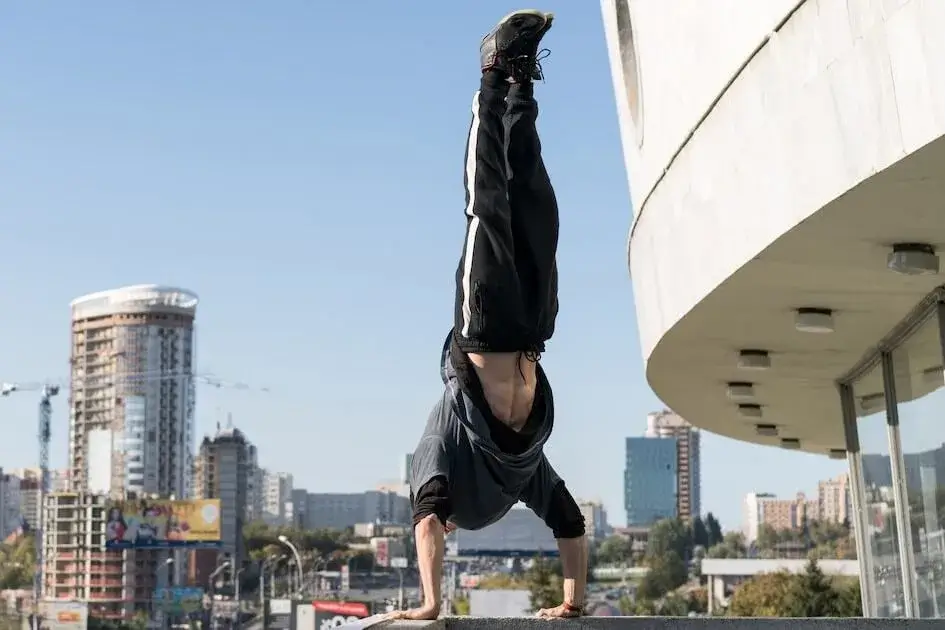
Calisthenics progressions will not be complete without a progression targeting your shoulders. This is where a handstand push-up progression comes in handy.
Handstand push-ups are definitely one of the cool-looking calisthenics skills. You position yourself in a handstand and you are lowering your body down by bending your elbows. Then you push back up until you are back in a handstand position with your arms straight.
This move will challenge both your strength and balance at the same time.
The entire progression is used for developing your deltoids. Those are your shoulder muscles. But it will work other muscle groups as well like your core and your arms.
Here are a few important moves from this progression:
- Handstand: Freestanding handstand is one of those milestone skills you would surely be proud to master. There is not much to it. Just hold yourself upside down and that’s it. Sounds easy, until you actually try.
- Handstand push-up: You are starting in a handstand position and lowering down by bending your arms at your elbows. When your head touches the ground push back up into a handstand.
As in all other progressions, you would benefit the most by going through this progression one step at a time.
Creating a Workout Using Calisthenics Progressions
Now that you know the 15 calisthenics progressions, it’s time to put them into a workout routine. Here’s a sample full-body workout that incorporates exercises from those 15 progressions:
- 5-10 minutes warm-up
- Perform 3 sets of 5-8 reps of each exercise. Rest for 2-3 minutes between sets:
- Chest & triceps Variations
- Leg Variations
- Abs & hip flexors Variations
- Back & biceps Variations
- Lower back Variations
- Shoulder Variations
- 5-20 minutes of cool-down stretching
Remember to start with the easier skills in a progression and gradually work your way up to the more advanced ones. Always listen to your body and rest when needed.
Calisthenics Progressions Final Thoughts
Adding these 15 calisthenics progressions into your workout routine will help you achieve a full-body transformation. But remember, progress takes time and patience. Start with the basics. Slowly work your way up to the more advanced moves as you gain strength and confidence.
To maximize your results, track your progress and set specific goals for each progression. Challenge yourself to increase the number of reps or hold times for each skill. And don’t forget to give your body time to rest and recover between workouts.
In conclusion, calisthenics is an effective and accessible way to transform your body. You can do it without expensive equipment or a gym membership. By adding these 15 calisthenics progressions into your workout routine, you can target all major muscle groups and achieve a full-body transformation.
Not only will you develop strong and toned muscles, but you’ll also improve your flexibility and overall fitness. So what are you waiting for? Get started on your calisthenics journey today!

