Complete Handstand Push Up Progression For Strong Shoulders
Handstand push up progression will test your limits.
Handstand push ups are yet another impressive calisthenics skill. It requires significant strength, shoulder mobility, and balance.
If you ever tried to do a handstand you know how hard it is just to balance upside down.
Add a pushing movement that will shift your weight during the movement, and you may start to see the difficulty.
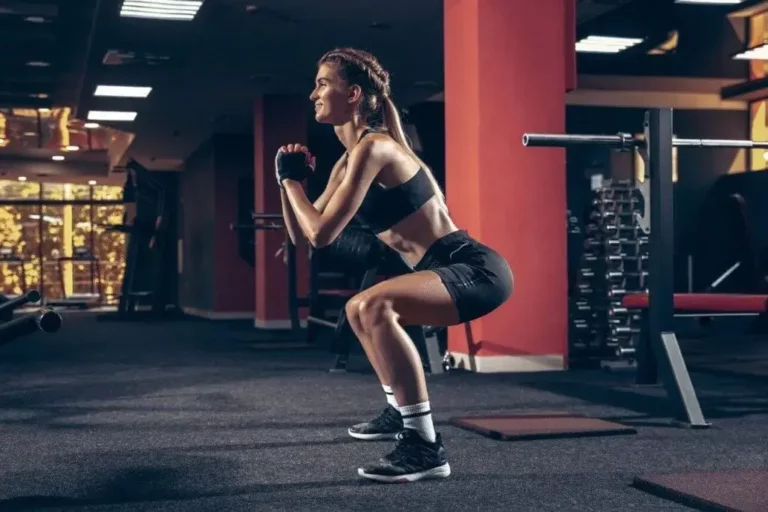
Putting aside all the difficulty, this skill will help you build your shoulder strength. If you want to put serious mass to your shoulder muscles, handstand push up progression is a valuable progression for you.
Handstand Push Up Progression: Muscles Worked
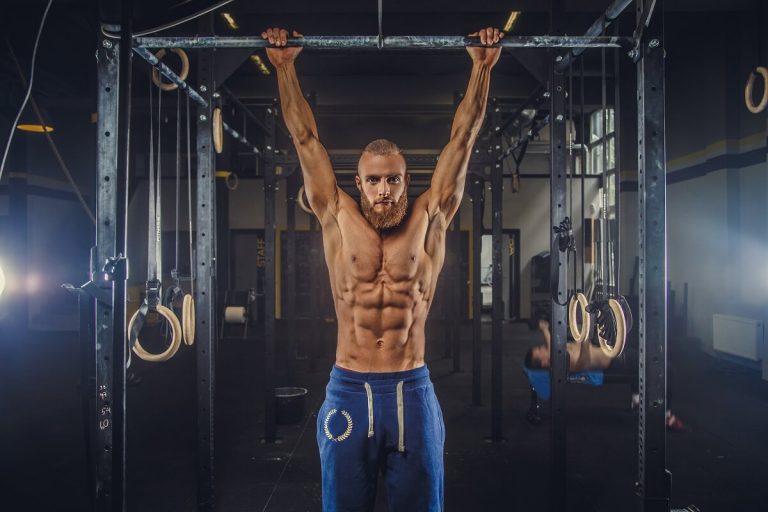
Handstand push up progression will require a lot of strength to perform. This in turn builds your muscles. As already mentioned, your shoulder muscles are the primary target. By shoulder muscles, I mean your deltoids.
But, not only deltoids will do the work. Your triceps and trapezius will be heavily involved too.
Your core will be engaged to keep your body rigid and prevent you from falling.
Handstand push up progression muscles worked:
- Delts
- Triceps
- Traps
- Core
Handstand Push Up Progression: Equipment
For freestanding handstand push up you will not need any equipment. But, in some exercises in handstand push up progression you will benefit from using the equipment.
Equipment:
- Wall (or some other vertical object you can lean on)
- Exercise mat (optional)
Handstand Push Up Progression: Exercises
Before starting with the easiest exercise in this progression you have to master the pike push up progression first. This will help you build the strength needed to tackle harder exercises from handstand push up progression.
Handstand push up progression starts with a wall handstand hold. This is the easiest exercise in this progression.
Wall Handstand Hold
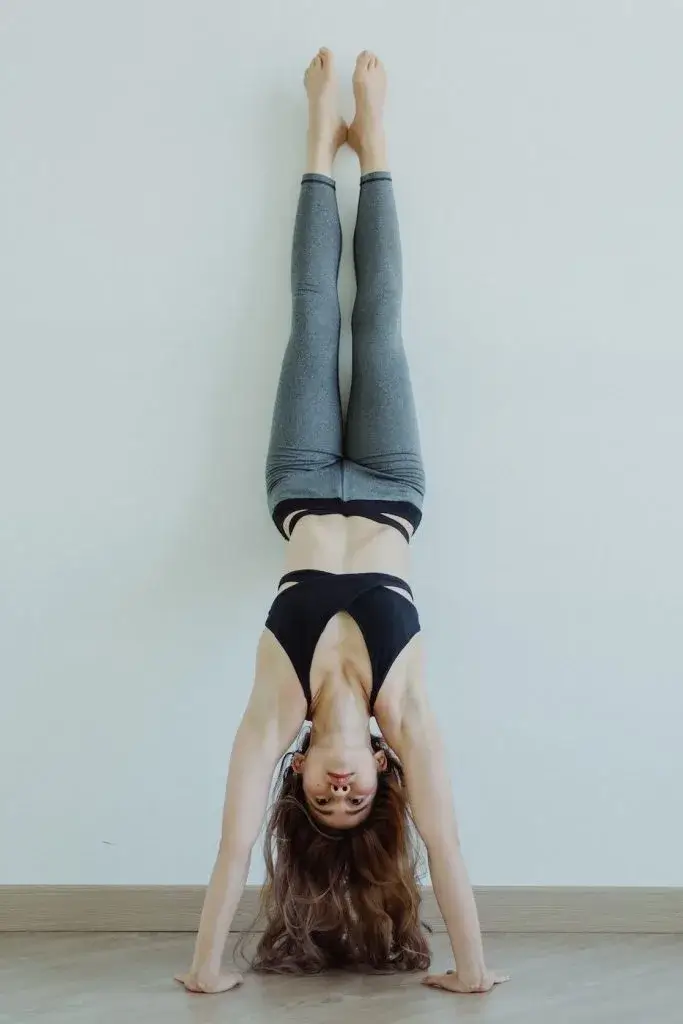
It’s finally time for your first handstand against the wall. At first, getting into the handstand position might be tricky. Once you get a hold of it, you will be able to do it easily.
Equipment:
- Wall (or some other vertical object you can lean on)
How to perform wall handstand hold
There are two ways you can get into a handstand against the wall position. So, there are two ways to position yourself for this exercise.
Positioning – Option 1
One option is to walk your legs up the wall and your hands towards the wall at the same time. It’s like walking on all four and once you reach the wall, you continue walking up the wall with your legs and your hands continue to follow on the floor.
When you get into a handstand position this way, your head will be facing toward the wall. This position is better for performing handstand push ups. It will load your shoulders more naturally.
Your position will be more like in pike push up. So your body will be slightly tilted forward.
It will also be beneficial once you want to proceed to freestanding handstands. It’s because in this position you will not have the wall behind you.
If the wall is behind you, you will feel safe to not tip over and fall on your back. This is the mentally hardest fear to overcome when moving to a freestanding handstand.
Without training yourself and having a wall behind you as a safety, you will not miss it in later stages. So, this is the preferred way of getting into a handstand against the wall.
Positioning – Option 2
The other way is by kicking up to a handstand and allowing your legs to hit the wall. This is an easier, faster, and more practical way of getting into a handstand.
However, it does come with a cost of being harder to progress to a freestanding handstand later on. Also when doing handstand push ups from this position, your shoulders will be loaded differently.
Your body will be tilted backward. This will strain your shoulders unnecessarily. Because your shoulders will have to be elevated even more than in the previous option.
Once you get into a handstand using any of the methods, you will have to keep your body straight. Your body will need to be in a straight line from your hands to your toes.
This will require sufficient strength of your core.
Hold for as long as you can. To reach mastery hold this position for 30 seconds or more in 3 sets.
Prerequisite for next exercise:
- 3x30s downward dog holds
Wall Handstand Shrugs
Wall handstand shrugs add a small additional movement to a handstand hold. This small movement will help you prepare your traps for increased load in the following exercises.
Equipment:
- Wall (or some other vertical object you can lean on)
How to perform wall handstand shrugs
Positioning:
Start in a handstand against the wall position.
Upward movement:
Make a small movement by extending your arms at your shoulders. You will be able to perform this move by letting your scapulas move upward. You will basically push your shoulders up to your ears.
Downward movement:
Release the tension in your traps by letting your shoulder come back to a starting position. Do this movement slowly.
The mastery level for this exercise is 15 reps in 3 sets.
Prerequisite for next exercise:
- 3×10 handstand shrugs
Wall Handstand Half Push Ups
Wall handstand half push ups will bring you one step closer to the handstand push up against the wall.
It’s like doing regular handstand push ups with limited range of motion. When I first tried I wasn’t able to do even one rep. Little by little my strength improved. In a few months, I was able to do 3 reps for 3 sets. It took more than a year to be able to get to 3 sets of 10 reps.
Equipment:
- Wall (or some other vertical object you can lean on)
How to perform wall handstand half push ups
Positioning:
Start in a handstand against the wall position.
Downward movement:
To start going down, bend your arms at your elbows. Allow your head to go down toward your hands positioned on the floor.
Keep on lowering down as much as you can. At this point, you will not go all the way down. You will gradually increase the range of motion.
Upward movement:
To start moving back up, push against the floor. Extend your arms at your elbows. Keep on pushing until you reach the starting handstand position.
The mastery level for this exercise is 10 reps in 3 sets.
Prerequisite for next exercise:
- 3×5 handstand half push ups
Wall Handstand Push Ups
Handstand push ups will be the same as handstand half push ups with a full range of motion.
Now you will go all the way down and up. This exercise is still a little too hard for me.
Equipment:
- Wall (or some other vertical object you can lean on)
How to perform wall handstand push ups
Positioning:
Start in a handstand against the wall position.
Downward movement:
To start going down, bend your arms at your elbows. Allow your head to go down toward your hands positioned on the floor.
Keep on lowering down until you touch the ground with your head. Don’t rest on your head.
Upward movement:
To start moving back up, push against the floor. Extend your arms at your elbows. Keep on pushing until you reach the starting handstand position.
The mastery level for this exercise is 10 reps in 3 sets.
Prerequisite for next exercise:
- 3×5 handstand push ups
Handstand Bailouts
Handstand bailouts will help you prepare for a freestanding handstand. The whole idea of this exercise is to remove the fear of falling on your back.
You are doing handstand bailouts so you can bail out if you feel like falling on your back while doing a freestanding handstand.
Equipment:
- Wall (or some other vertical object you can lean on)
How to perform handstand bailouts
Start in a handstand against the wall position. You must be facing toward the wall to perform this exercise. So, you will not kick up to a handstand. You have to get into position by doing a wall walk.
If you are right-handed, release your right hand and move it forward 5-8″. Remove your legs from the wall one by one. Lower your legs down to your right side one by one. Right leg first and left will follow.
If you are lefty, start with your left hand and left leg. If this feels awkward try to do it with the other hand and leg. Whatever feels more natural to you. Once you feel more confident doing bail out on one side, never do it to the other side.
You have to automate this movement on one side only. It will be your fail-safe move if anything goes wrong during a freestanding handstand. So, it must be automatic and used as a reflex.
The feeling will be like doing a cartwheel. However, this doesn’t mean you have to pay special attention to form. The main idea is that you feel safe doing this move.
Progressing with handstand bailouts
When you start at first your hands will be up to 20″ away from the wall (approximately your arm’s length distance). This will give you the necessary feeling of safety. You will measure your progress by reducing the distance between your hands and the wall.
The mastery level for this exercise is when you are able to do bailouts with chest to wall handstand. You will practically be doing a handstand with your entire body touching the wall. At this point getting away from the wall and doing a freestanding handstand should be easy.
Prerequisite for next exercise:
- handstand bailouts with hands 4-5″ away from the wall
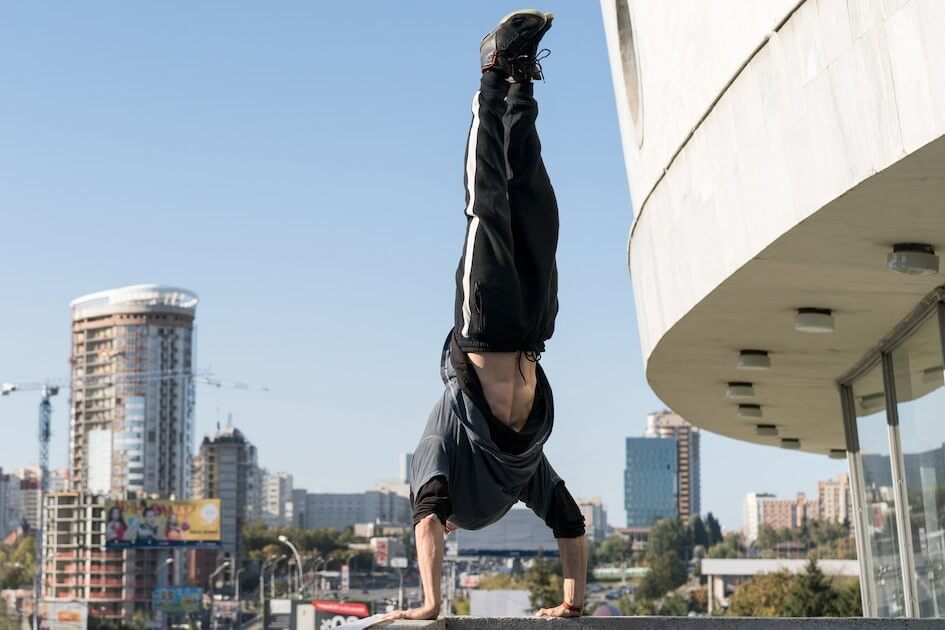
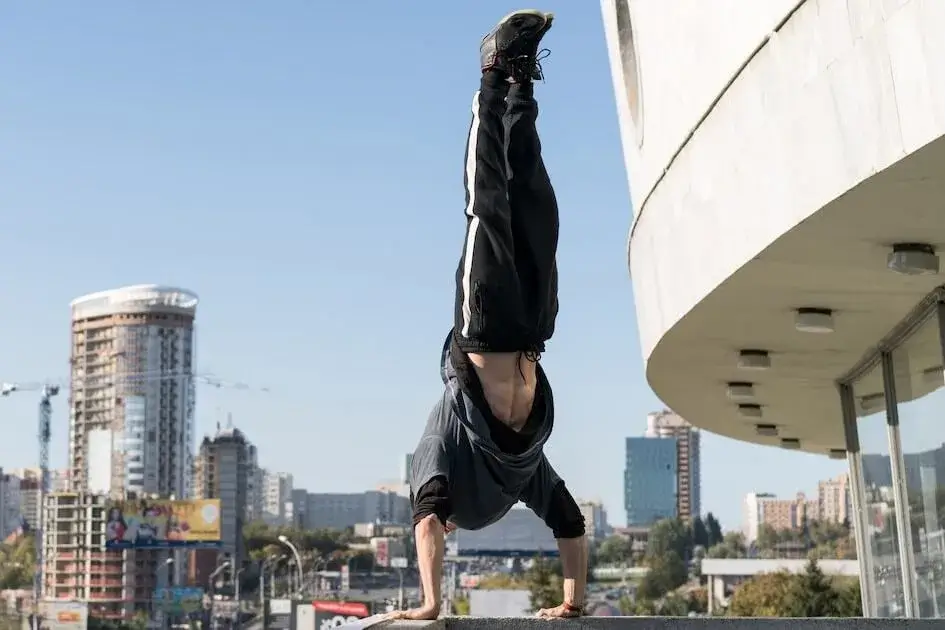
Handstand
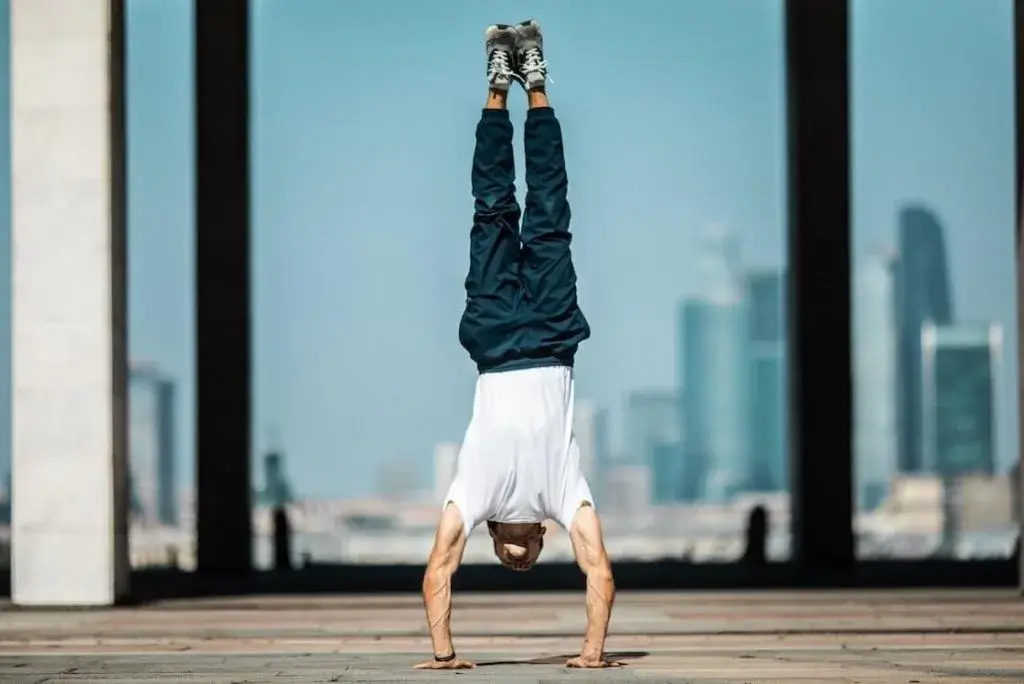
Handstand or a freestanding handstand is a whole new beast to conquer. Getting to your first handstand will be a journey of its own.
Equipment:
- None
How to perform a handstand
Positioning:
Place your hands on the floor in front of you. Place your legs a few inches apart. If you are right-handed, your right leg will be further away. If you are lefty, your left leg will be further away.
Kick up with your legs and balance on your hands.
The mastery level for this exercise is a 10s handstand hold for 3 sets.
Prerequisite for next exercise:
- 3x10s freestanding handstand holds
Handstand Half Push Up
Handstand half push ups will bring you one step closer to a full handstand push up.
It’s like doing regular handstand push ups with limited range of motion.
Equipment:
- None
How to perform handstand half push ups
Positioning:
Start in a handstand position.
Downward movement:
To start going down, bend your arms at your elbows. Allow your head to go down toward your hands positioned on the floor.
Keep on lowering down as much as you can. At this point, you will not go all the way down. You will gradually increase the range of motion.
Upward movement:
To start moving back up, push against the floor. Extend your arms at your elbows. Keep on pushing until you reach the starting handstand position.
The mastery level for this exercise is 8 reps in 3 sets.
Prerequisite for next exercise:
- 3×3 handstand half push ups
Handstand Push Up Negatives
In handstand push up negatives you will only be doing the lowering part of the handstand push up.
Equipment:
- None
How to perform handstand push up negatives
Positioning:
Start in a handstand position.
Downward movement:
To start going down, bend your arms at your elbows. Allow your head to go down toward your hands positioned on the floor.
Keep on lowering down until you touch the ground with your head. Do a handstand bailout. Start over by kicking up in a handstand position.
The mastery level for this exercise is 8 reps in 3 sets.
Prerequisite for next exercise:
- 3×3 handstand push up negatives
Headstand Push Up To Handstand
Headstand push up to handstand is just the upward part of a handstand push up. When you combine it with a handstand push up negative, you will get a full handstand push up.
Equipment:
- None
How to perform headstand push up to handstand
Positioning:
Start in a headstand position.
Upward movement:
To start moving up, push against the floor. Extend your arms at your elbows. Keep on pushing until you reach the full handstand position.
The mastery level for this exercise is 8 reps in 3 sets.
Prerequisite for next exercise:
- 3×3 headstand push up to handstand
Handstand Push Up
Finally, it’s time for a first-ever handstand push up. This is the final step in a handstand push up progression.
Equipment:
- None
How to perform handstand push ups
Positioning:
Start in a handstand position.
Downward movement:
To start going down, bend your arms at your elbows. Allow your head to go down toward your hands positioned on the floor.
Keep on lowering down until you touch the ground with your head.
Upward movement:
To start moving back up, push against the floor. Extend your arms at your elbows. Keep on pushing until you reach the starting handstand position.
Conclusion
The complete handstand push up progression is a transformative journey that will strengthen your shoulders like never before.
By incorporating the handstand push up progression into your fitness routine, you will not only build impressive deltoids and sculpted shoulders, but you will also enhance your overall upper body strength and balance.
The journey towards mastering handstand push ups takes time, patience, and consistent practice. Focus on maintaining proper form, activating the correct muscles, and listening to your body’s limits.
Get ready to push your limits, defy gravity, and experience the thrill of mastering handstand push ups. Your shoulders are capable of incredible strength. With the handstand push up progression, you have the tools to unlock their full potential.