Pull Up Progression Mastery For Complete Beginners (30 Days)
If you want to master your first pull-up in the shortest time possible, here’s the pull-up progression to help you do just that.
This progression is excellent for complete beginners. But it will also benefit you as you progress on your fitness journey. You will probably never stop working on some of the basic skills presented here.
Depending on your previous injuries and current physical condition, you will be able to do your first pull-ups in 30 days.
But if you don’t make it in 30 days, it’s not the end of the world. It took me three months when I started. I had stabilization surgery on both of my shoulders. I couldn’t hang from a bar when I started. It took a while to slowly build strength and flexibility which enabled me to do pull-ups.
So, work at your own pace and don’t worry too much about the time in which you are supposed to master pull-ups. It’s more important to do it correctly and safely. You will soon be able to do your first pull-up.
Pull-Up Techniques
After you read this part, you should be able to instantly spot poor performance and bad form when you see it. Now, how to do a perfect pull-up with perfect form and perfect tempo?
Perfect Pull-Up Grip And Starting Position
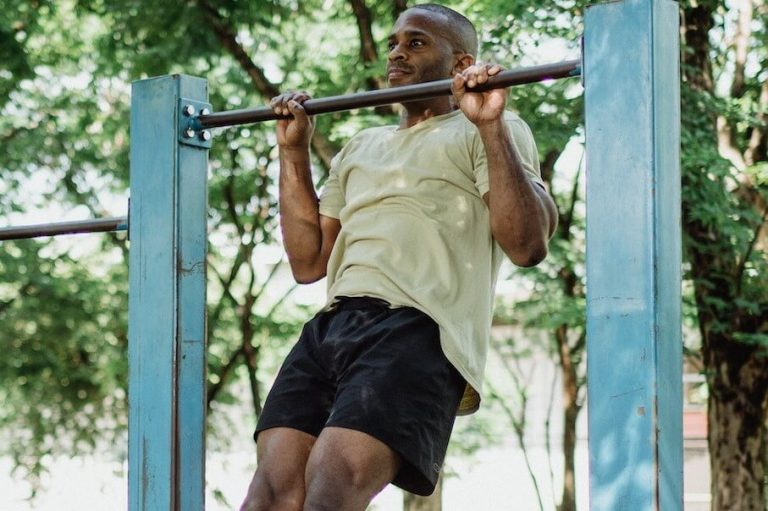
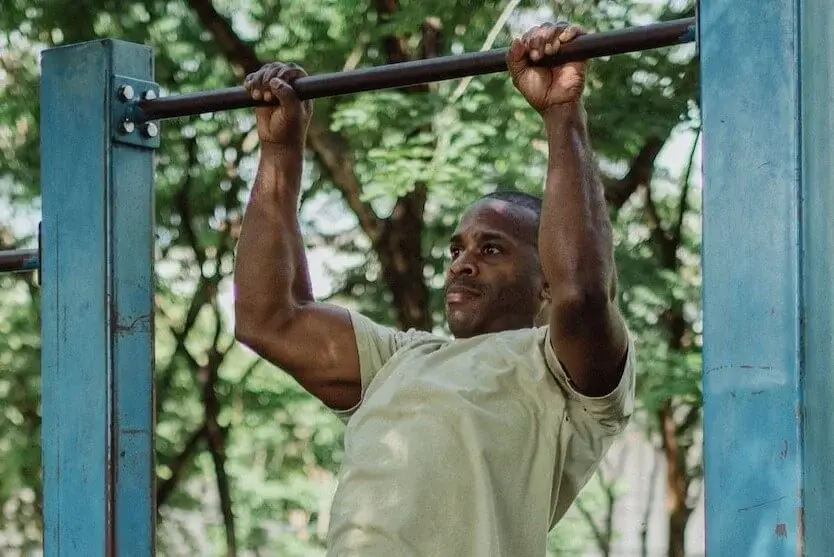
You should hang from a bar with your arms grabbing a pull-up bar just a bit wider than shoulder width. Your palms will be facing away from you. This is the so-called pronated or overhand grip.
When you hang from a pull-up bar, your feet should be pointed downward. With your feet pointed they should not touch the ground beneath the bar.
Your entire body should be under tension when you hang from a bar. If you were doing hollow hold exercise on the floor, this is exactly how your body should feel when hanging from a bar. Your core should be engaged which will prevent your body from swinging when you pull yourself up toward the bar.
This is your first clue and a way to spot bad performance and form. If you see legs crossed or hanging with feet pointed forward this is your first clue of bad performance and form.
Perfect Pull-Up Performance And Form
As with any other calisthenics exercise, a perfectly executed pull-up will be done slowly using your strength not momentum.
Tempo
When you are pulling yourself up this will be a concentric part of the move. This part of the move is done for about one second (counting 1 slowly). This part of the movement is not as important as the lowering part.
The lowering part of the move is called the eccentric part of the movement. This is the part where your muscles will take more beating and will grow faster if you concentrate on it. When you lower yourself down, you should count 1 and 2. You should be lowering yourself down twice as long as you pull yourself up.
How To Do A Perfect Pull Up
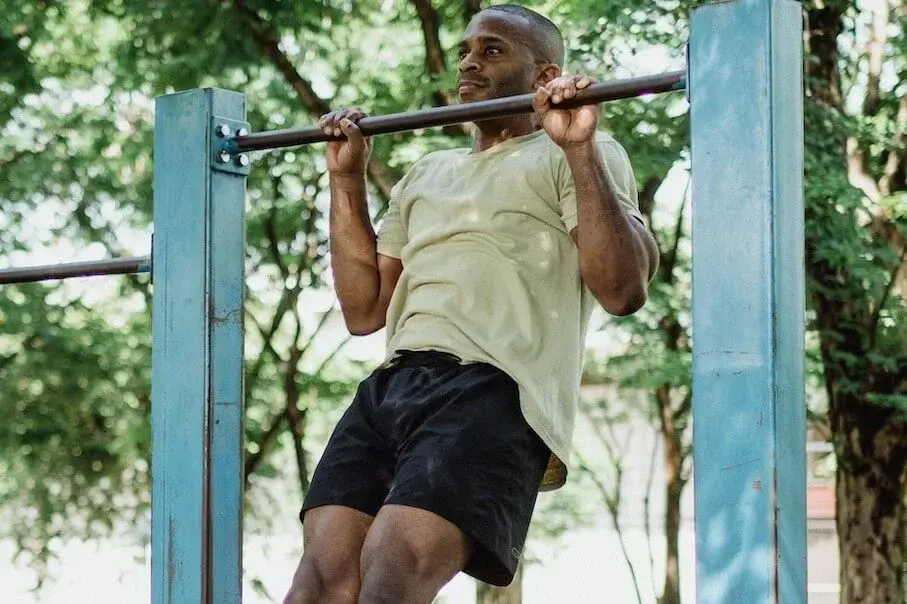
Using the tempo described above pull yourself up toward the pull-up bar. Aim to touch the bar with your chest (this will help you when you progress further after you completely master regular pull-ups). The uppermost point of your movement is with your chin over the bar. Now, you should avoid at all costs extending your neck and looking up as you reach the bar. Keep your head level and look at the point far in front of you as you pull yourself up. This is your next clue to watch for and see where people usually do this skill wrong.
If you concentrate on doing the descent twice as slow as the upward movement there is only one more thing to watch for when you lower down. This is minimizing swinging. By keeping your toes pointed down and your core engaged you should be able to eliminate or minimize swinging as much as possible.
When pulling yourself up you are keeping your forearms static. Your upper arms are pulling your body up and away from the bar in the first part of the upward movement. After you pass the point where your upper arms are parallel to the ground your upper arms are moving up and toward the bar. So, you are rotating your chest and shoulders around the bar as you move up. You do the same movement as you go down. This is one more thing people usually do wrong. They position on the bar with their arms wide and move directly up toward the bar, not allowing for this natural circular movement away and toward the bar. This puts shoulders in danger and makes pull-ups very hard to do.
Pull-Up Progression: Muscles Worked
Pull-up progression will mostly work your biceps and upper back muscles. But your core and your shoulders will also help.
Pull-up muscles worked:
- Lats
- Traps
- Delts
- Biceps
- Abs
Pull-Up Progression: Equipment
At the beginning of your pull-up pursuit, you will do exercises on a low bar. Later on, you will move on to a high pull-up bar.
For some of the exercises, it will be useful to have a pull-up assist resistance band at your disposal. For pull-up and chin-up negatives you can use a box. But, this is optional.
Equipment:
- Pull-up bar
- Low bar
- Resistance band
- Box (optional)
Pull-Up Progression: Exercises
Here are the exercises in a pull-up progression from the easiest to the hardest. If you are just starting out or recovering from injury, start with the easiest exercise in pull-up progression.
If the easiest exercises are too easy for you, test your strength and pick the exercise that is just right for your current fitness level. For dynamic exercises, it should be the exercise you can do for 5-8 reps in 3 sets. If it’s a static hold exercise, pick the one you can hold for 30 seconds in 3 sets.
Pull-Up Levels
Level 1 is reserved for exercises performed on a low bar.
Moving onto a high pull-up bar and mastering your first pull-up is the main focus of Level 2.
Here are the exercises in progression:
Level 1
- Low bar hang
- Scapular inverted rows
- Low bar pull-up negatives
- Low bar chin up
- Low bar pull-up (Australian pull-up, inverted row)
Level 2
- Dead hang
- Scapular pull-ups
- Pull up negatives
- Chin up negatives
- Band assisted pull-ups
- Band assisted chin-ups
- Half pull-up hold
- Chin-ups
- Pull-ups
Pull-Up Progression: Level 1
Level 1 is all about low bar exercises. Those exercises will help you prepare your body for harder exercises performed on a high pull-up bar.
So, this is a pull-up progression preparation phase.
Don’t underestimate those exercises. I’m currently working on my high pull-ups. However, I’m still doing inverted rows as the last (easiest) regression exercise on my pull workout days.
Low Bar Hang
Pull-up progression has to start somewhere. I believe hanging from a low bar is as easy as it can get.
So, the easiest exercise on your path to muscle up is a low bar hang. This exercise should be easy enough for just about any level of strength.
If for any reason, this exercise is too hard for you, you can start with the same exercise with the help of a resistance band. A resistance band will help make this exercise even easier.
Equipment:
- Low bar
How to perform low bar hang
Positioning:
Grab a low bar a little bit wider than shoulder width with your palms facing away from you. Your entire body will be positioned below the bar.
Keep your body in a straight line. Your heels will be firmly on the ground.
Hang from a bar for as long as you can. If you are able to hold for 30 seconds in three sets you can progress to the next exercise in a progression.
Prerequisite for next exercise:
- 3x30s low bar hang
Scapular Inverted Rows
Scapular inverted rows or low bar scapular pull-ups are a little bit harder exercise than a low bar hang. It’s used to prepare your muscles for harder exercises in progression.
This exercise targets mostly your rear delts, traps, and rhomboids.
Equipment:
- Low bar
How to perform scapular inverted rows
Positioning:
Start in a low bar hang position.
Upward movement:
Push your chest forward and pull your shoulders backward. This is just a small limited movement.
Downward movement:
Release your shoulders and back muscles and return to a starting position.
Prerequisite for next exercise:
- 3×12 scapular inverted rows
Low Bar Pull-Up Negatives
Low bar pull-up negatives are great for developing the feeling of eccentric movement of low bar pull-ups. You are doing only the lowering portion of a low bar pull-up.
Equipment:
- Low bar
How to perform low bar pull-up negatives
Positioning:
Jump up to a bar, or grab a bar with your chest pressed against the bar and lower your legs underneath the bar. Position yourself so that your heels are firmly on the ground. Your entire body is in a straight line.
Downward movement:
Slowly lower your body down by extending your arms at your elbows. Keep on lowering yourself until your arms are completely straight. Keep your body straight during the movement.
The lowest position is the low bar hang.
Upward movement:
Bend your knees and jump back up to a bar.
Prerequisite for next exercise:
- 3×10 low bar pull-up negatives
Low Bar Chin-Up
A low bar chin-up is similar to a low bar pull-up. The only difference is your hand’s placement on the bar.
This exercise will make your biceps work more than in a pull-up.
Equipment:
- Low bar
How to perform low bar chin-ups
Positioning:
Grab a bar with your palms facing towards you. Your arms are straight and you are holding a bar at shoulder width.
Place your legs underneath the bar. Position yourself so that your heels are firmly on the ground. Your entire body is in a straight line.
Upward movement:
Initiate an upward movement by flexing your arms in your elbows. Keep on moving your entire body in a straight line up. Aim like you want to touch the bar with your chest. Move up as far as possible.
Downward movement:
Lower yourself down by extending your arms at your elbows. Lower your entire body in a straight line. Keep on lowering until your arms are straight again.
Prerequisite for next exercise:
- 3×10 low bar chin-ups
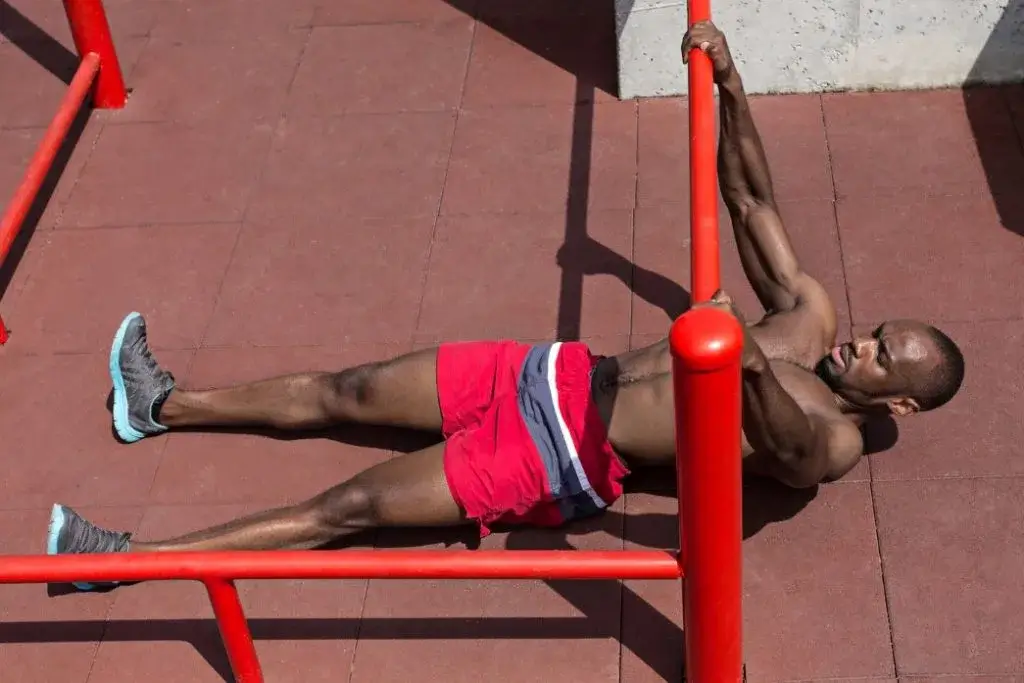
Low Bar Pull-Up

Low bar pull-up is also called an inverted row or Australian pull-up. This exercise is great to prepare your body for harder exercises on a high bar.
Equipment:
- Low bar
How to perform low bar pull-ups
Positioning:
Grab a bar with your palms facing away from you. Your arms are straight and you are holding a bar slightly wider than shoulder width.
Place your legs underneath the bar. Position yourself so that your heels are firmly on the ground. Your entire body is in a straight line.
Upward movement:
Initiate an upward movement by flexing your arms in your elbows. Keep on moving your entire body in a straight line up. Aim like you want to touch the bar with your chest. Move up as far as possible.
Downward movement:
Lower yourself down by extending your arms at your elbows. Lower your entire body in a straight line. Keep on lowering until your arms are straight again.
Prerequisite for next exercise:
- 3×10 low bar pull-ups
Pull-Up Progression: Level 2
Level 2 is meant to prepare you for your first pull-up. If you went through Level 1 you have already done a lot.
This level will keep you busy for quite some time. At least it kept me busy for almost 4 years. Moving beyond “normal” pull-ups and chin-ups seemed impossible.
I was going up and down from level 1 to level 2 several times. Each time refining my movement patterns and improving my strength.
Dead Hang
The first step when you progress from a low bar to a high bar is to hang from a bar. After doing all exercises on a low bar, this should be manageable.
The only possible limitation at this point will be your shoulder flexibility. Even just by doing this exercise your shoulder flexibility will improve. It did it for me.
So, this is one of the crucial exercises in my pull-up progression.
Once you have full extension in your shoulder joint you are well on your way to a handstand too.
This is what’s great about calisthenics progressions. When you reach a certain point in one progression it will be transferable to other exercises. So, no effort is wasted.
Equipment:
How to perform dead hang
Positioning:
Grab a bar with your palms facing away from you. Your arms are straight and you are holding a bar slightly wider than shoulder width.
Your entire body should hang freely from a bar down. Point your toes down. Hold for as long as you can.
Prerequisite for next exercise:
- 3x20s dead hang
Scapular Pull Ups
This exercise will bring you from a dead hang to an active hang position. It’s a small movement. However, this small movement is the first part of a full pull-up. So, don’t underestimate its importance.
This exercise will primarily work your trapezius, rhomboids, latissimus dorsi, and serratus anterior muscles.
Equipment:
How to perform scapular pull-ups
Positioning:
Start in a dead hang position.
Upward movement:
Initiate an upward movement by trying to move your shoulders down. You will be pinching your shoulder blades down and closer together on your back. It’s a small movement. Hold for a second.
Downward movement:
Lower yourself down by relaxing your shoulder blades. Let your shoulders come up to your ears. Repeat for reps.
Prerequisite for next exercise:
- 3×10 scapular pull ups
Chin-Up Negatives
Chin-up negatives are an eccentric part of a chin-up. You are doing only the lowering part of a chin-up exercise. It’s very similar to pull-up negative. The only difference is the position of your hands on a bar.
This is an excellent exercise to help you improve your strength as well as familiarize your body with a chin-up movement.
Equipment:
- Pull up bar
- Box (optional)
How to perform chin-up negatives
Positioning:
Start by grabbing a bar with your hands at shoulder width. The palms of your hands are facing toward you. Your chin should be above the bar in the starting position.
However, don’t extend your head up just to be able to get your chin over the bar. Your head should be facing forward like when you are standing.
It would be helpful to use a box on which you will stand to be able to start without jumping to a bar.
If you are not using a box, you should jump up to a bar.
Downward movement:
Lower yourself down as slowly as possible. In the beginning, your descent will last maybe a second or two. You will notice your progress by increasing the time of descent.
After a while, you will be able to descend for 30 seconds or more.
Prerequisite for next exercise:
- 3x10s chin-up negatives
Pull Up Negatives
Pull-up negatives are an eccentric part of a pull-up. You are doing only the lowering part of a pull-up exercise. It will be slightly harder than chin-up negatives.
This is an excellent exercise to help you improve your strength as well as familiarize your body with a pull-up movement.
Equipment:
- Pull up bar
- Box (optional)
How to perform pull-up negatives
Positioning:
Start by grabbing a bar with your hands slightly wider than shoulder width. Your palms will be facing away from you. Your chin should be above the bar in the starting position.
However, don’t extend your head up just to be able to get your chin over the bar. Your head should be facing forward like when you are standing.
It would be helpful to use a box on which you will stand to be able to start without jumping to a bar.
If you are not using a box, you should jump up to a bar.
Downward movement:
Lower yourself down as slowly as possible. In the beginning, your descent will last maybe a second or two. You will notice your progress by increasing the time of descent.
After a while, you will be able to descend for 30 seconds or more.
Prerequisite for next exercise:
- 3x10s pull up negatives
Band Assisted Chin Ups
When doing band-assisted chin-ups you will be doing the full chin-up motion. The only difference is the use of a band.
A resistance band will help you feel lighter. It will decrease the difficulty of the exercise.
This is a great preparation for a full chin-up because it will familiarize you with the entire range of motion.
Equipment:
- Pull up bar
- Resistance band
How to perform band-assisted chin-ups
Positioning:
Start by grabbing a bar with your hands at shoulder width. Your palms will be facing toward you. Hang freely from the bar.
Place your feet inside the band loop. The band will stretch and you will feel lighter.
Upward movement:
Pull yourself up by flexing your arms in your elbows. Keep on pulling until your chin is above the bar.
Don’t force a chin over the bar by extending your neck and facing up. Keep your head pointed forward. Your head should be in the same position as if you were standing.
Downward movement:
Slowly lower yourself down by extending your arms at your elbows. Keep on lowering down until your arms are completely straight.
Prerequisite for next exercise:
- 3×5 band chin ups
Band Assisted Pull Ups
When doing band-assisted pull-ups you will be doing the full pull-up motion. The only difference is the use of a band.
A resistance band will help you feel lighter. It will decrease the difficulty of the exercise.
This is a great preparation for a full pull-up because it will familiarize you with the entire range of motion.
Equipment:
- Pull up bar
- Resistance band
How to perform band-assisted pull-ups
Positioning:
Start by grabbing a bar with your hands a bit wider than shoulder width. Your palms will be facing away from you. Hang freely from the bar.
Place your feet inside the band loop.
Upward movement:
Pull yourself up by flexing your arms in your elbows. Keep on pulling until your chin is above the bar.
Don’t force a chin over the bar by extending your neck and facing up. Keep your head pointed forward. Your head should be in the same position as if you were standing.
Downward movement:
Slowly lower yourself down by extending your arms at your elbows. Keep on lowering down until your arms are completely straight.
Prerequisite for next exercise:
- 3×5 band pull-ups
Half Pull-Up Hold
Pull-up holds are excellent to load your muscles in one position without moving. Isometric (holding) exercises are the proven way to increase time under tension and help you build your muscles faster.
Equipment:
How to perform half pull-up holds
Positioning:
Start by grabbing a bar with your hands a bit wider than shoulder width. Your palms will be facing away from you. Hang freely from the bar. Point your toes down.
Upward movement:
Pull yourself up by flexing your arms in your elbows. Keep on pulling until your forearms form approximately 90 degrees angle to your upper arms.
Hold as long as you can.
Downward movement:
Slowly lower yourself down by extending your arms at your elbows. Keep on lowering down until your arms are completely straight.
If you don’t allow yourself to drop down from a hold, this exercise will be a combination of a pull-up, an isometric hold, and a pull-up negative.
This will make it harder than just dropping down from a hold.
Prerequisite for next exercise:
- 3x10s half pull-up holds
Chin Ups

If you have mastered all previous exercises you are going to love the next steps in a progression. It’s time to do your first full chin-ups and pull-ups.
I felt this step was an important milestone in my progress.
Equipment:
How to perform chin ups
Positioning:
Start by grabbing a bar with your hands at shoulder width. Your palms will be facing toward you. Hang freely from the bar. Point your toes down.
Upward movement:
Pull yourself up by flexing your arms in your elbows. Keep on pulling until your chin is above the bar.
Don’t force a chin over the bar by extending your neck and facing up. Keep your head pointed forward. Your head should be in the same position as if you were standing.
Downward movement:
Slowly lower yourself down by extending your arms at your elbows. Keep on lowering down until your arms are completely straight.
Prerequisite for next exercise:
- 3×5 chin ups
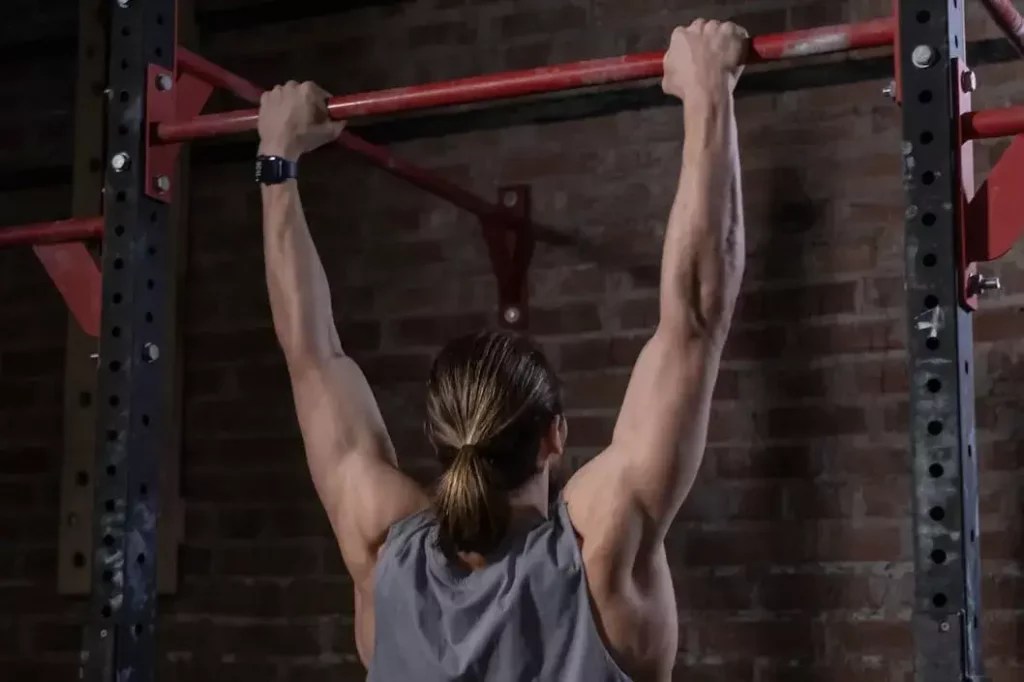
Pull Ups
Doing your first pull-up will certainly feel like a great achievement. Don’t feel though you have to be able to do all 5 chin-ups to start with pull-ups.
As soon as I was able to do one chin-up I tried to do one pull up too. In my muscle-up progression, that was one of the most important moments.
Equipment:
How to perform pull-ups
Positioning:
Start by grabbing a bar with your hands a bit wider than shoulder width. Your palms will be facing away from you. Hang freely from the bar. Point your toes down.
Upward movement:
Pull yourself up by flexing your arms in your elbows. Keep on pulling until your chin is above the bar.
Don’t force a chin over the bar by extending your neck and facing up. Keep your head pointed forward. Your head should be in the same position as if you were standing.
Downward movement:
Slowly lower yourself down by extending your arms at your elbows. Keep on lowering down until your arms are completely straight.
Conclusion
I hope you enjoyed this pull-up progression journey. This should make you work hard, improve your posture, and make your upper back muscles visible.
When pull-ups are getting easy, it’s time to challenge yourself more. There are loads of harder exercises for you to explore. Logical next step will be tackling a muscle up progression.