Complete Pull Workout You Can Do Without Gym
If you were looking for a complete pull workout you can do without going to the gym you came to the right place.
After spending four years doing total body and some other workout routines I finally got inspired to try push / pull / legs split. When I did an online research I come short of answers. I couldn’t find a good example of a pull workout without gym.
After compiling a workout routine from various sources I’m presenting it here. This workout routine works for me and I hope it will work for you.
This routine might help as a starting point. It may help you compile your perfect pull routine as well.
Pull workout routine prerequisites
Before jumping right into the workout routine and exercises, there are some prerequisites to consider.
First, it’s important to know what is the level of your physical ability expected. Than, it’s important to know what equipment you have to be able to access to do this routine.
Lastly, you will probably want to know which muscle groups are working in this workout.
Pull Workout: Athlete Capability
This workout routine is not for a complete beginner. Previous experience is required and expected to be able to do it safely.
Athlete capability:
- Medium to advanced
Pull Workout: Equipment
There are only three pieces pf equipment needed to perform this workout. If you have access to a calisthenics park, you will find most of it there. You should only have your own resistance band at hand.
Equipment:
Pull Workout: Muscles Worked
In a pull workout you will mostly target your back and biceps muscles. Opposite to a push workout where you are working mostly your chest and triceps.
Pull workout – primary muscles worked:
- Upper back
- Biceps
- Rear deltoids
Complete Pull Workout
As with other workouts, this workout starts with harder exercises. Then it progresses to easier exercises to the end.
Here’s an example of a pull workout that can be performed without going to gym:
- Upper back
- 3×5-8 pull ups
- 3×5-8 chin ups
- Rear delts
- 3×10-15 face pulls
- Biceps
- 3×15-20 band biceps curls overhand grip
- 3×15-20 band concentration curl (external rotation)
- Upper back
- 3×5-8 band pull ups
- 3×8-10 inverted rows
- Biceps
- 3×10-15 Cross body overhand grip band curls
- Upper back
- 3×15-30s pull up negatives
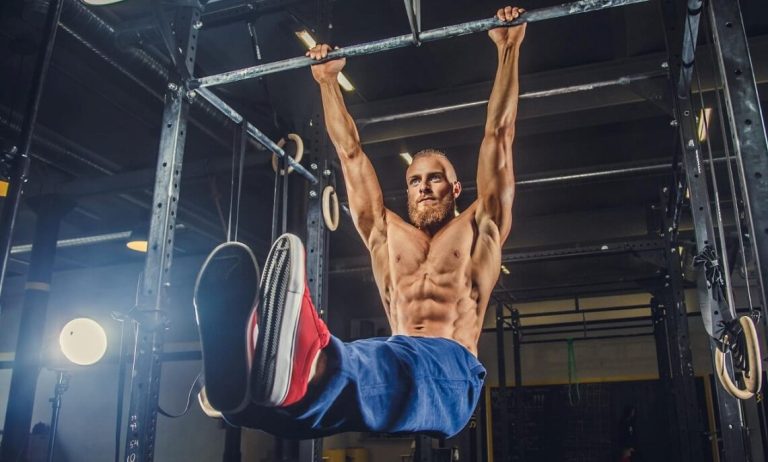
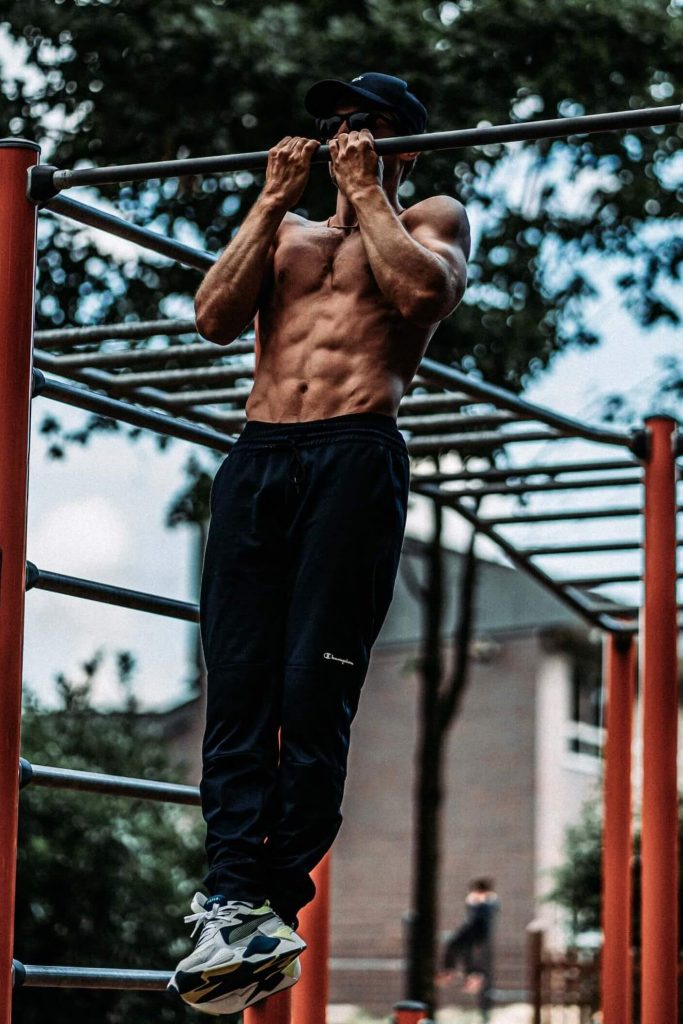
Pull Up

According to Jennifer K H, Daniel A J, Todd C. pull ups are a compound movement exercise activating several muscle groups:
- Core
- Biceps
- Lats
- Traps
- Pec major
- Rhomboid
Equipment:
How to perform a perfect pull up
Positioning:
Grab a pull up bar with your palms facing away from you. Your legs should be hanging freely without touching the ground. Point your toes down.
Upward movement:
First part of an upward movement is a scapular depression. Lift your head between your arms by moving your shoulders down.
Continue bending your arms in your elbows and pulling up your body until your chest touches a bar. When your chest touches a bar this is the highest point of your upward movement.
Downward movement:
Slowly lower your body by straightening your arms in your elbows. Keep on lowering down until you are back at the starting position.
Chin Up
The main difference between pull ups and chin ups is in the position of your hands. When doing pull ups, your palms are facing away from you. When doing chin ups, your palms are facing towards you.
Chin ups works the same muscles as pull ups:
- Core
- Biceps
- Lats
- Traps
- Pec major
- Rhomboid
Equipment:
How to perform a chin up
Positioning:
Grab a pull up bar with your palms facing towards you. Your legs should be hanging freely without touching the ground. Point your toes down.
Upward movement:
First part of an upward movement is a scapular depression. Lift your head between your arms by moving your shoulders down.
Continue bending your arms in your elbows and pulling up your body until your chest touches a bar. When your chest touches a bar this is the highest point of your upward movement.
Downward movement:
Slowly lower your body by straightening your arms in your elbows. Keep on lowering down until you are back at the starting position.
Band Face Pull
Face pull is a great exercise for posterior shoulder muscle development. It’s the back part of your shoulders.
Face pull muscles worked:
- Rear delts
- Traps (mid and lower)
- External shoulder rotators (infraspinatus and teres major)
Equipment:
- Resistance band
- Pull up bar
How to perform a face pull
Positioning:
Stand with your feet positioned slightly wider than your hip width. Face forward toward where the band is attached.
Grab a band with your thumbs facing backwards.
Pull band back leading with your elbows and following with your hands. Keep on pulling back as far as you can without feeling discomfort or pain.
Backward movement:
Your elbows should be positioned slightly below your shoulders throughout the movement.
Concentrate on trying to do a shoulder rotation at the end of the movement. After you can’t move your elbows further back, you continue pulling your hands back as far as they can go.
Forward movement:
Slowly release the band by letting your hands and your elbows go forward. Let the band pull your arms back to return in the starting position. This should be a slow controlled motion. Don’t let a band snap back on it’s own.
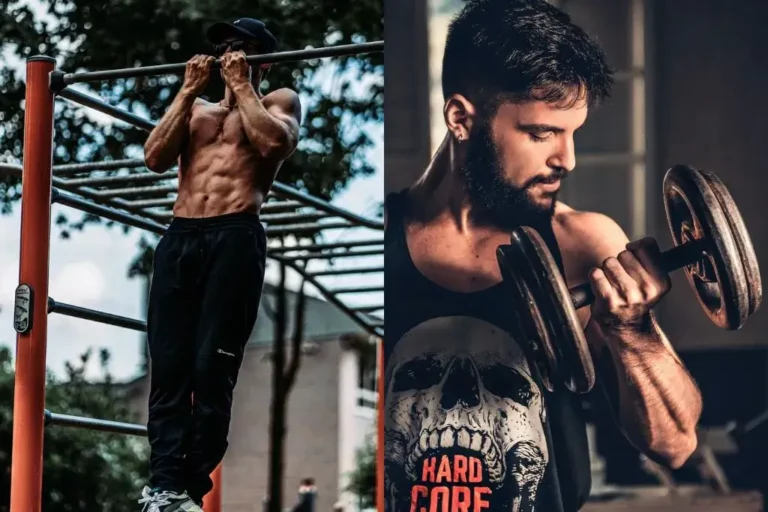
Band Curls (Overhand Grip)
To add size to your biceps, besides working on your biceps long and short heads, you would want to target brachialis.
Brachialis is a muscle laying below bicep long and short heads. It helps with elbow flexion. Best way to target brachialis is using overhand grip in your biceps exercises.
Band curls with overhand grip targets following muscles:
- Brachialis
- Bicep long and short head
- Brachioradialis (together with other smaller muscles in your forearm)
Equipment:
- Resistance band
How to perform bicep curl with overhand grip
To perform biceps curls with an overhand grip you can use a barbell, dumbbells or band (fixed near the floor). The movement is similar regardless of the equipment used.
Positioning:
Stand with your feet positioned slightly wider than your hip width. Face forward toward where the band is attached.
Grab a band with your palms facing down.
Backward movement:
Pull up a band by bending your arms in your elbows and moving your elbows to your sides. Pinch your shoulder blades together.
Continue pulling until you can’t move your elbows further behind.
Forward movement:
Release band tension by straightening your arms until your arms are straight in front of you. Your arms should be pointing where the band is fixed.
Band Concentration Curls With External Rotation
This is a bit altered exercise to a normal bicep curl. By locking your elbow, you will be able to isolate workload to bicep muscle.
To enhance contraction at a fully flexed position you will externally rotate your arm. This will increase tension in your biceps thus stimulating your muscles to grow faster.
Concentration curls hits following muscles:
- Bicep long and short head
- Brachialis
- Small muscles in your forearm
Equipment:
- Resistance band
How to perform concentration curls with external rotation
Positioning:
Position yourself so that the band is on your left side if you are working your right arm. If you are working your left arm band should be on your right side.
Grab a band with your palm facing upwards. Press your elbow to your inner thigh and bend your back slightly forward.
Upward movement:
Pull a band upward by bending your elbow and slowly rotate your wrist outwards. Keep on pulling until you run out of space and can’t bend your arm any further.
Downward movement:
Slowly release your arm and let it straighten until there is no more tension provided by the band.
Band Pull Up
Band pull ups are basically the same exercise as the normal pull up. The only difference is that band tension helps you do pull ups more easily.
Band pull ups are used as regression exercise to normal pull ups. This is a great way to increase the time under tension for the same muscles.
Band pull ups activate following muscle groups:
- Core
- Biceps
- Lats
- Traps
- Pec major
- Rhomboid
Equipment:
- Resistance band
- Pull up bar
How to perform a band pull up
Positioning:
Step into a band with one or both feet. Grab a pull up bar with your hands a bit wider than shoulder width. Your palms should be facing away from you.
Let your feet hang freely not touching the ground. Point your toes down.
Upward movement:
First part of an upward movement is a scapular depression. Lift your head between your arms by moving your shoulders down.
Continue bending your arms in your elbows and pulling up your body until your chest touches a bar. When your chest touches a bar this is the highest point of your upward movement.
Downward movement:
Slowly lower your body by straightening your arms in your elbows. Keep on lowering down until you are back at the starting position.
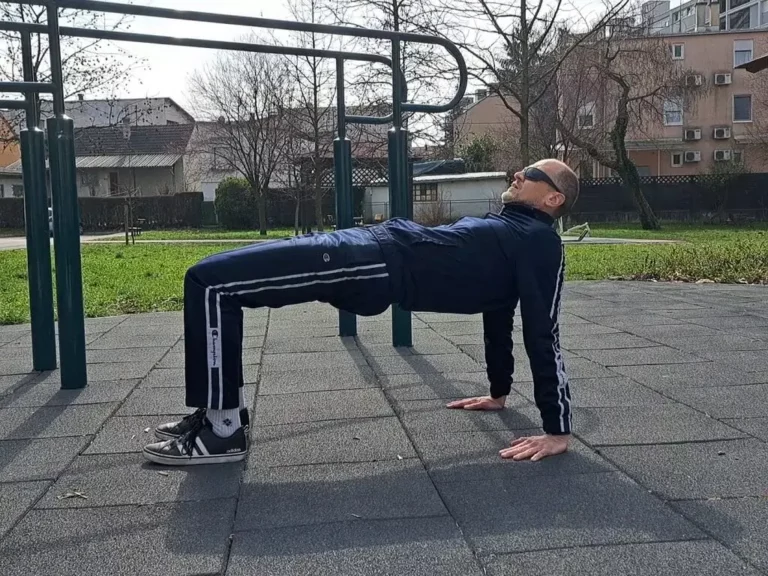
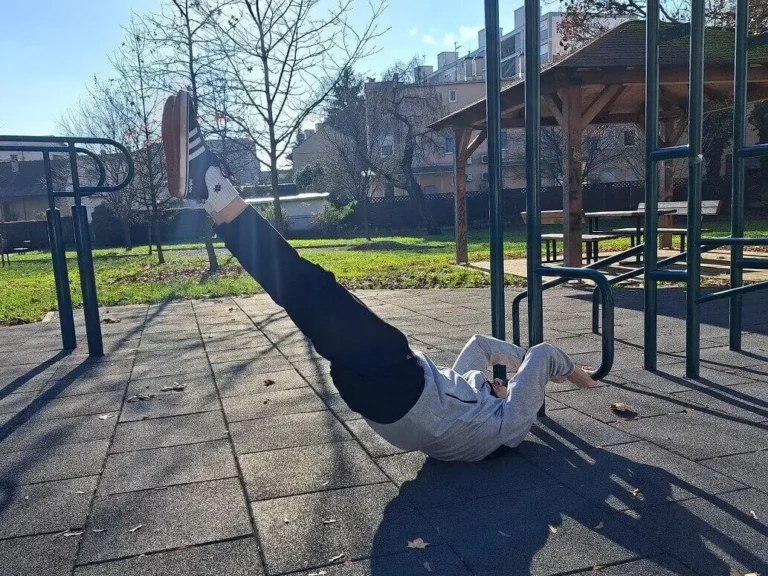
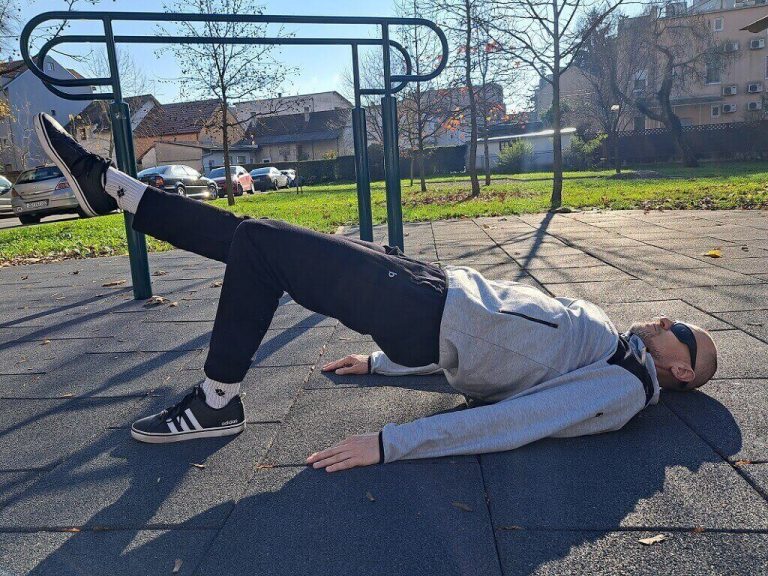
Inverted Rows
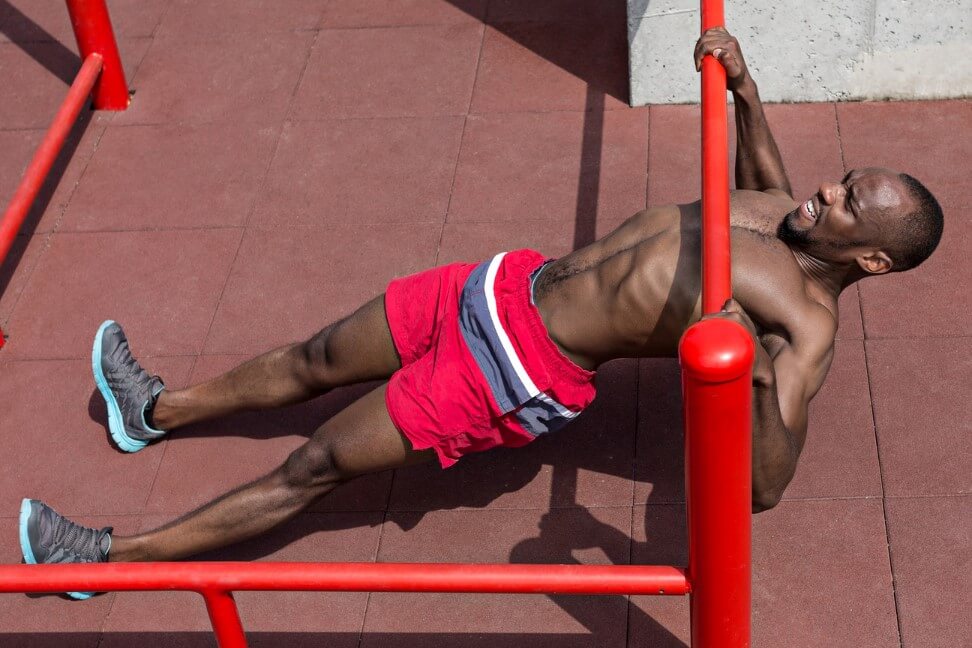
Inverted rows are also known as Australian pull ups. This exercise is yet another regression variant of a pull up.
However, because of a different position of a body it works muscles a little bit differently. According to American Council of Exercise inverted rows activate more mid and low traps while do less for lats than pull ups.
Muscles worked with inverted rows:
- Core
- Biceps
- Lats
- Traps
- Pec major
- Rhomboid
Equipment:
- Low bar
How to perform inverted rows
Positioning:
Grab a bar with your palms facing away from you. Your arms are straight and you are holding a bar slightly wider than shoulder width.
Place your legs underneath the bar. Position yourself so that your heels are firmly on the ground. Your entire body is in a straight line.
Upward movement:
Initiate an upward movement by flexing your arms in your elbows. Keep on moving your entire body in a straight line up. Aim like you want to touch the bar with your chest. Move up as far as possible.
Downward movement:
Lower yourself down by extending your arms in your elbows. Lower your entire body in a straight line. Keep on lowering until your arms are straight again.
Cross Body Overhand Grip Band Curls
This is another overhand grip bicep curl exercise you can do at your home. It’s just another variation of a bicep exercise that targets brachialis.
Cross body curls hits following muscles:
- Bicep long and short head
- Brachialis
- Small muscles in your forearm
Equipment:
- Resistance band
How to perform cross body overhand grip band curls
Positioning:
Position yourself so that the band is on your left side if you are working your right arm. If you are working your left arm band should be on your right side.
Grab a band with your palm facing upwards. Press your elbow to your inner thigh and bend your back slightly forward.
Upward movement:
Pull a band upward across your body by bending your elbow. Keep on pulling until you run out of space and can’t bend your arm any further.
Downward movement:
Slowly release your arm and let it travel across your body until there is no more tension provided by the band.
Pull Up Negatives
Pull up negatives are another variation of a pull up regression. Basically, pull up negatives are just the lowering portion of a normal pull up.
This is an excellent exercise to help you improve your strength as well as familiarizing your body to a pull up movement.
Equipment:
- Pull up bar
- Box (optional)
How to perform pull up negatives
Positioning:
Start by grabbing a bar with your hands slightly wider than a shoulder width. Your palms will be facing away from you. Your chin should be above the bar in the starting position.
However, don’t extend your head up just to be able to get your chin over the bar. Your head should be facing forward like when you are standing.
It would be helpful to use a box on which you will stand to be able to start without jumping to a bar.
If you are not using a box, you should jump up to a bar.
Downward movement:
Lower yourself down as slowly as possible. In the beginning your descent will last maybe a second or two. You will notice your progress by increasing the time of a descent.