From Zero To Hero: The Epic Push Up Progression
Push up progression is one of the all time classics. When looking to build your chest and triceps muscles, push up progression is the first choice.
Almost anyone may start with this progression regardless of the current fitness level. It starts with the knee push up which is a beginner friendly move almost anyone can do.
Level Of Difficulty
This progression is perfect if you are beginner or advancing beginner. It’s not best suited for intermediate and advanced athletes, complete newbies, or people recovering from injury. Push up progression is ideal for:
- Beginners
- Advancing beginners
*As always – consult your doctor if you want to start any kind of physical activity. This progression is no different. Show the exercises to your doctor and ask him if it’s safe for you to give it a try.
Push Up Progression: Prerequisites
Push up progression is a beginner friendly progression that can be used by almost anyone. If knee push ups are still too hard for you, don’t worry. There are a few even easier exercises you can do to prepare your body. So, if knee push ups are yet too hard for you, you can start with exercises from plank progression.
When you can do 3 sets with 20 seconds of plank hold per set, you are ready for knee push ups. So, you are ready to start working on push up progression.
Push Up Progression: Muscles Worked
The main target of this progression is your chest and triceps muscles. Other muscle groups are also activated to help you do the moves in this progression.
Push-up muscles worked:
Primary
- Chest
- Triceps
- Deltoids
Secondary
- Abs
- Obliques
- Lower back
- Gluteus
Push Up Progression
The easiest skill in the push up progression is a knee plank on elbows. You will progress through standard push ups all the way up to push up at the end.
When you are starting out you can easily determine what your starting point is. Once you determine which exercise you can do 3 sets for 5-8 reps this is your starting point. So, you can start from the exercise you are able to do and work yourself up the progression.
To learn more about how to use progressions to quickly create your own custom workouts check out the Complete calisthenics workout guide.
Push Up Levels
To make it easier to follow your progress, exercises are divided into two different levels. Each level has 4 exercises to master before you are able to get to the next level.
Knee and incline push ups are the main focus of Level 1.
Level 2 will help you master regular push ups.
Here are the exercises in push up progression:
Level 1
- knee push up
- knee diamond push up
- incline push up
- incline diamond push up
Level 2
- half push up
- half diamond push up
- push up
- diamond push up
Level 1
On this level, you will work yourself up to incline push up variants.
Incline push ups are a little bit easier than regular push ups on the floor. Regular push ups will be something to work on at the next level.
Knee Push Up
Knee push up will be the first moving exercise in this progression. Planks should have prepared your muscles for this exercise.
Equipment:
- Exercise mat (optional)
How to perform knee push up
Positioning:
Position your body so that you are standing on your knees and your hands. You will be on all four with your arms straight. Keep your body from your butt to your head in a straight line.
Downward movement:
Lower yourself down by flexing your arms at your elbows. Aim to touch the ground with your chest. When you touch the ground with your chest, don’t rest on the floor. This is the lowest point of downward movement.
Upward movement:
To start moving up, straighten your arms in your elbows. Keep on moving up until your arms are completely straight and you are back in starting position.
You will reach mastery when you are able to do 3 sets with 20 reps in each set.
Prerequisite for next exercise:
- 3×10 knee push ups
Knee Diamond Push Up
Knee diamond push ups are a more difficult version of a knee push up. It will require more strength in your triceps and will be harder to do than knee push ups.
Equipment:
- Exercise mat (optional)
How to perform knee diamond push up
Positioning:
Stand on all four with your knees on the floor and your arms straight. Your body should be straight from your butt to your head.
Your palms should be positioned on the floor with your fingers wide and your index fingers and your thumbs touching. This will create a diamond looking shape on the floor. This is how diamond push ups got their name.
Downward movement:
Flex your arms at your elbow to start going down. Try touching the floor with your chest. Don’t rest on the ground when you touch it.
Upward movement:
Straighten your arms in your elbows to go up. When you completely straighten your arms you will be back in the starting position.
To reach mastery do 3 sets with 20 reps in a set.
Prerequisite for next exercise:
- 3×10 knee diamond push ups
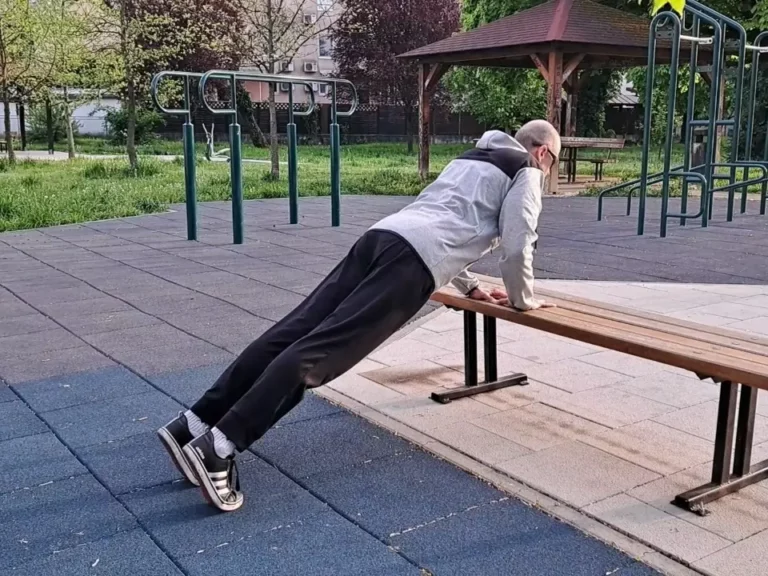
Incline Push Up
Now you are moving to incline push ups. You will do push ups with your hands positioned on an elevated surface. This will be harder than knee push ups, but a little easier than regular push ups.
Equipment:
- Box (or another elevated surface)
How to perform incline push up
Positioning:
Put your hands on a raised platform. Your arms should be straight with your palms a bit wider than your shoulder’s width. Stand on your toes on the floor and your arms on the box.
Ensure that your entire body, from your feet to your head, is in a straight line.
Downward movement:
Flex your arms at the elbows to lower yourself. The goal is to make contact with the box using your chest. Once your chest touches the box, you reached the lowest position.
Upward movement:
To begin the upward motion, extend your arms at the elbow. Continue to move upward until your arms are fully extended.
The mastery level is when you can do 3 sets of 20 repetitions in each set.
Prerequisite for next exercise:
- 3×10 incline push ups
Incline Diamond Push Up
Similarly to knee diamond push ups, incline diamond push ups are more difficult than incline push ups.
Equipment:
- Box (or some other elevated surface)
How to perform incline diamond push up
Positioning:
Place your hands on an elevated surface a little bit wider than shoulder width. Your body should be straight while standing on your toes on the ground and your hands on the box.
Your palms should be on the box with your fingers spread wide apart. The tips of your index fingers and thumbs will be touching, forming a diamond like shape on the surface.
Keep your arms straight.
Downward movement:
Bend your arms at the elbows to lower yourself. Try to touch the box with your chest. Do not pause in this position.
Upward movement:
Extend your arms by straightening your elbows. Continue the upward movement until you have returned to the starting point.
Prerequisite for next exercise:
- 3×10 incline diamond push ups
Level 2
This level is all about regular push up variants. From half push up to a diamond push up.
The first two exercises will help you prepare for regular push ups. Diamond push up will help you progress one step further than regular push up.
Half Push Up
A half push up is like doing a regular push up with a limited range of motion. This is one step closer to a regular push up.
Most people think they are doing push ups, while they are actually doing half push ups. I was no exception. When I started my fitness journey I thought I was doing perfect push ups, while I was actually doing poorly performed half push ups.
Equipment:
- Exercise mat (optional)
How to perform half push up
Positioning:
Assume a plank position. Stand on your toes and your hands. Your body should be straight.
Downward movement:
Flex your arms at the elbows to start moving down. Since you are doing only half of a push-up, lower yourself down until your upper arms and your forearms are forming around 90 degrees angle.
Upward movement:
To initiate upward motion, extend your elbows to straighten your arms. Continue the upward movement until both arms are fully extended and you have returned to your original starting position.
For mastery do 3 sets with 20 reps in each set.
Prerequisite for next exercise:
- 3×10 half push ups
Half Diamond Push Up
After a half push up, a diamond half push up will make it a bit more difficult.
Equipment:
- Exercise mat (optional)
How to perform half diamond push up
Positioning:
Before doing half diamond push up you should position yourself in a slightly modified plank position. The difference is in the placement of your hands. They should be positioned close, forming a diamond-looking shape on the floor.
Downward movement:
Lower down by bending your arms at your elbows. Keep on lowering until your upper arms and forearms form a 90-degree angle.
Upward movement:
To get back in the starting position push yourself off the ground. Extend your elbows until your arms are straight again.
If you can do 3 sets with 15 reps or more you have reached mastery.
Prerequisite for next exercise:
- 3×10 half diamond push ups
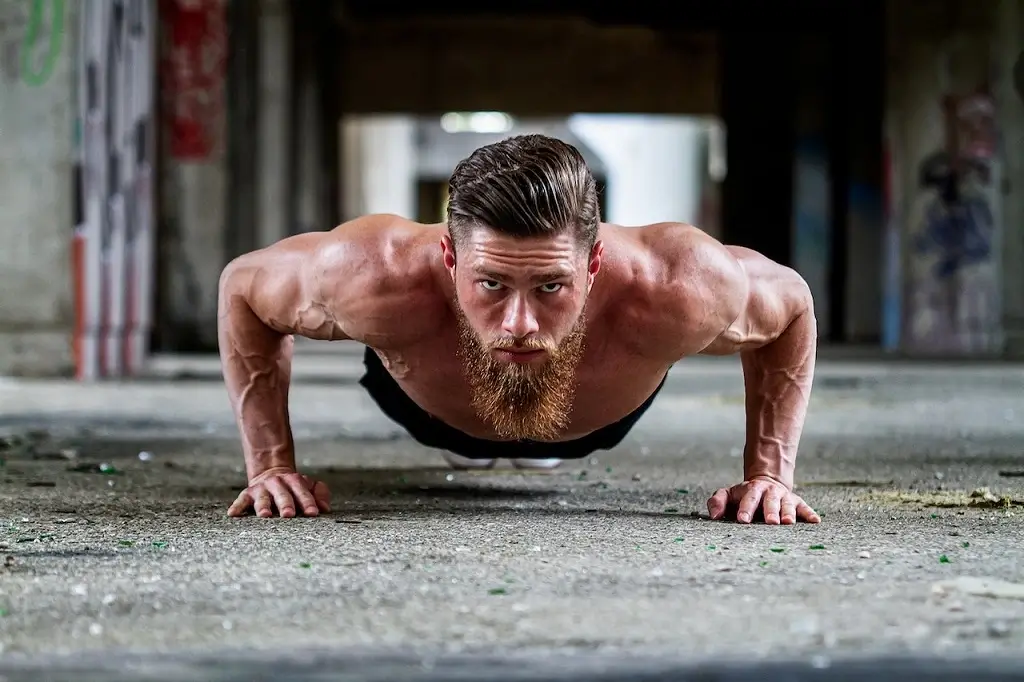
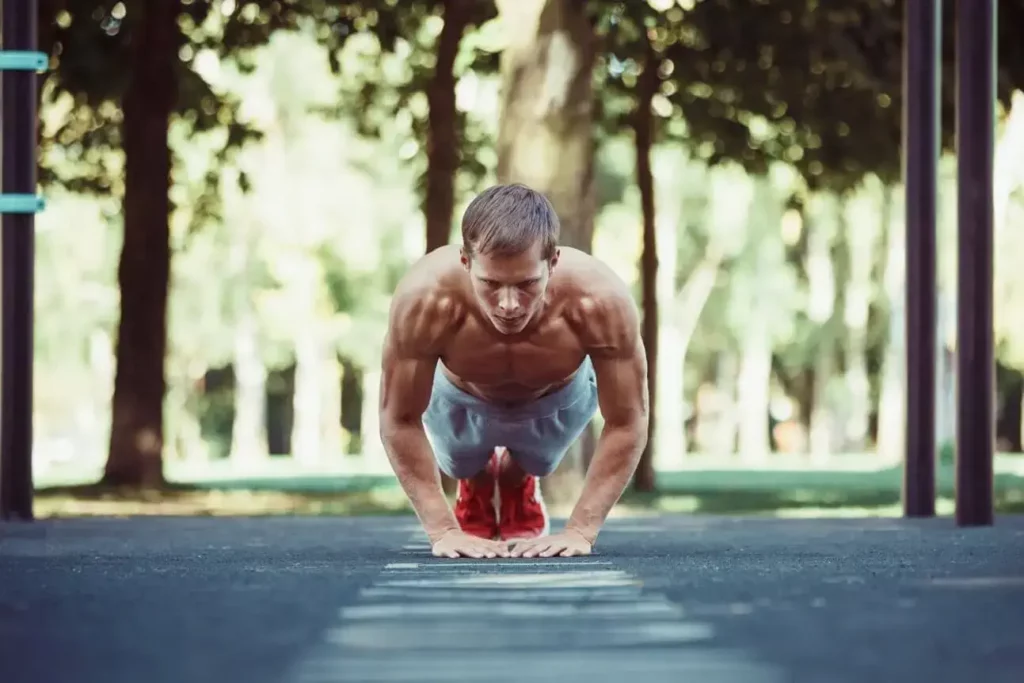
Push Up
It’s finally time to do your first regular push-up. Maybe you are able to do a regular push-up right from the start.
However, check and recheck if you are doing it correctly. I’m constantly improving my performance for each exercise I do.
When I refine my movement patterns there is no surprise I can do fewer reps. I just humbly accept I was doing something wrong. I correct it and proceed with my lower rep count as a new starting point.
Equipment:
- Exercise mat (optional)
How to perform push up
Positioning:
Stand on your feet and hands. Keep your body straight. Your arms should be straight and a bit wider than shoulder width.
Downward movement:
Slowly lower your body by bending your arms at your elbows. Keep on lowering down until you touch the ground with your chest.
Upward movement:
Straighten your arms to go back up. Keep on straightening your arms until you are back in the starting position.
When you are able to do 3 sets with 15 reps in each set you mastered this exercise.
Prerequisite for next exercise:
- 3×8 push ups
Diamond Push Up
After regular push ups, it’s time for the diamond version. This will get a bit more difficult.
Equipment:
- Exercise mat (optional)
How to perform diamond push up
Positioning:
Place your hands on the floor in front of you. Your hands should be close with your palms forming a diamond shape on the ground.
Your palms and your feet should be in contact with the ground. Keep your body straight.
Downward movement:
Bend your arms at your elbows to start going down. Lower down slowly. Your chest should touch your hands in the lowest position.
Upward movement:
Slowly extend your arms to go back up. Straighten your arms until they are completely straight.
Aim to do 15 reps in 3 sets to master this move.
Conclusion
Push up progression is one of the calisthenics classics. It’s easy to start progression that doesn’t require any equipment.
This makes it an excellent choice when you don’t have access to the gym.
If by any chance the easiest exercise in this progression is too hard for you, you can start with exercises from the plank progression. If you can do 3 sets with 8 reps both push ups and diamond push ups, you are ready to safely move on to one arm push up progression.