Incline Push Up That Will Help You Build Strength
Incline push up is a skill that will help you build your chest muscles. But it will also work other muscle groups as well.
This skill can be used to help you progress to harder pushing moves. The first exercise that comes to mind is of course a regular push up.
It can also be used as a regression exercise in total body, pull, or upper body training. If you use it as a regression exercise, it will help you increase time under tension. This will in turn help you build your muscles faster.
Incline push ups are part of one arm push up progression.
What is an incline push up
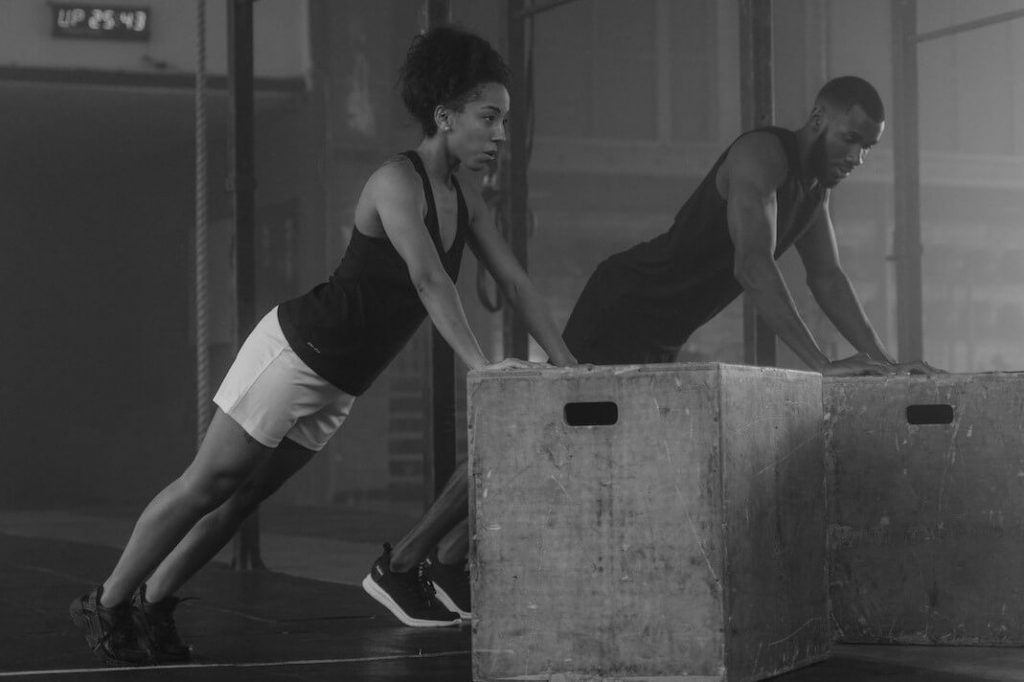
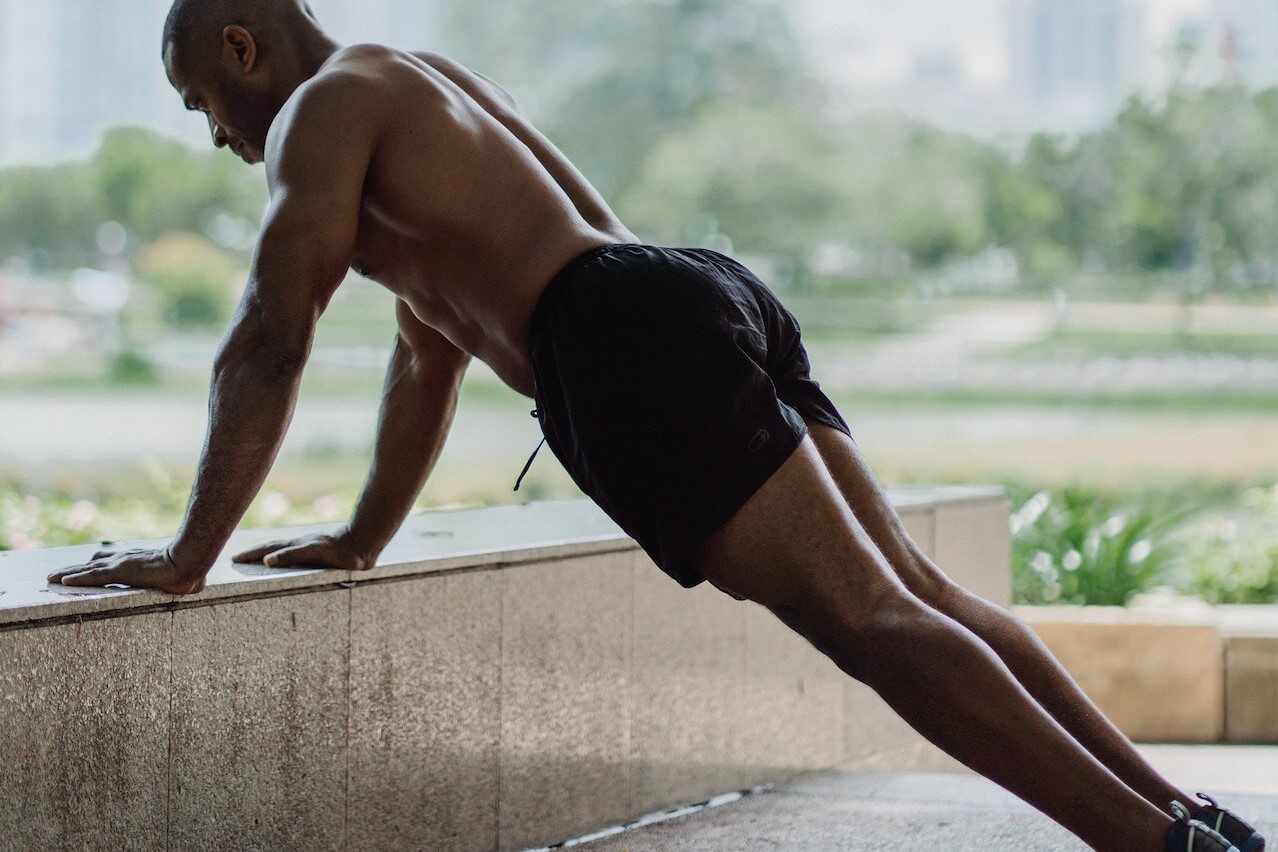
An incline push up is similar to a regular push up. The difference is the use of an elevated surface.
When you are doing incline push ups, your hands will be positioned on some sturdy elevated surface like a box. Your legs will be positioned on the floor the same as in regular push ups.
The forces on your body will be reduced because of the increased angle of your body to the floor. This will make you feel lighter.
You will feel less pressure on your shoulders and arms. Which will also help you do more incline push up reps.
Incline push up benefits
Incline push ups are great for improving the strength and size of your chest muscles. They will also work your triceps with the help of your abs and back muscles.
This move will be easier on your shoulders and your arms compared to regular push ups.
If you are still having trouble with regular push ups, the incline version might be just up to your speed. So, this move will be a great tool to prepare your body for harder exercises like regular push ups.
They will help you both in building the necessary strength and familiarize yourself with the exercise motion. The motion is similar to a regular push up.
Muscles worked
Incline push up is a skill that will be used to work your chest. But, there are other muscles involved in this exercise too.
Incline push up muscles worked:
Primary
- Chest
- Triceps
Secondary
- Deltoids
- Core
- Lower back
- Gluteus
Equipment needed
For this move, you will need some kind of a sturdy elevated surface to lay your hands on. This can be a box, bench, sofa, chair, desk, or bed. If you have a park with calisthenics equipment nearby, you will have several options at your disposal.
Equipment:
- Elevated surface
How to achieve a perfect form
To perform an incline push up with perfect form, your entire body will have to be in a straight line from your feet to your head.
You will position your hands on a sturdy elevated surface like a box. The higher the elevated surface the easier the move will be. The lower the surface the harder it will be to pull it off.
Your feet will be positioned on the floor on your toes and your feet balls.
You will move your entire upper body up and down by bending your arms in your elbows. Please keep in mind not to flare your elbows to the sides. Keep your elbows close to your body. Don’t allow your shoulders to come up to your ears.
Common mistakes
Incline push ups are relatively easy to do. But, there are some mistakes you may notice when doing this move.
Mistake 1: Elbows flaring out
One of the most common mistakes is letting your elbows flare out when doing the move. This puts increased stress on your shoulders and may lead to injury.
It’s relatively easy to avoid this mistake. If you focus on keeping your elbows closer to your body you will reduce the risk of injury.
Mistake 2: Incorrect body alignment
If you don’t take special care you may let your hips sink low or your butt may be too high. Doing the move this way will reduce the effectiveness of this skill. Your body should be straight from your head to your feet.
To correct this mistake, you have to be able to notice it. If you do this move near the mirror it will be easy to spot it. The other option is recording yourself. When you notice your body is not straight, you simply lower or raise your hips to correct your position.
Mistake 3: Limited range of motion
Another common mistake is doing the move with a limited range of motion. This is especially true and visible if you don’t come all the way down and touch the elevated surface with your chest.
Focus on going all the way down and touching the box with your chest in every rep you do. This is how you eliminate this problem.
How to do an incline push up
Positioning:
When you position yourself in the starting position explained above, you can start the exercise.
Downward movement:
To start moving down, bend your arms at your elbows.
Keep on lowering down as much as you can. Aim to touch the elevated surface (box) with your chest. But don’t rest your chest against the box.
When you touch the elevated surface with your chest this is the lowest point of your downward movement.
Upward movement:
To start moving up, push against the floor. Extend your arms at your elbows. Keep on pushing until you reach the starting position.
Continue doing these movements for reps.
Incline push up progression
If you still struggle to do this move, you can start with easier variants. Easier exercises will help you increase your strength so you can do your first incline push up in no time.
If you want to do easier exercises than incline push ups, here are a few skills that you can try from easiest to hardest:
If this is getting too easy for you, you can try harder moves that will challenge you more. Here are some harder skills you can try from easiest to hardest:
This move is a part of one arm push up progression. It stands somewhere at the beginning of a progression.
Key takeaways
Incline push up is a great exercise that will build your chest and triceps muscles. It’s one of the easiest exercises in one arm push up progression.
It will help you improve your form and strength needed to progress to a standard push up and beyond.